New Stamps for Christmas

Welcome to our Christmas release for 2024. It’s been quite the week, there’s been much excitement in our house around the new goodies but we are also mindful that there’s a lot happening out there in the world beyond stamping that hugely impacts folks.
I really appreciate you taking time to pop over and look at our new goodies, the virtual kettle is on, the tea is brewing. I don’t know if anyone fancies it but I might run a card challenge soon, I know some folks turn to crafting to soothe, while others just can’t get up the inspiration, but might like to look at some ideas – we will see, we will chat about it after the release.
We have 3 new stamp sets and 3 new stencils in store here for you, if you do find yourself in need of new goodies – and we also have some samples to browse if you just aren’t feeling with it at the moment due to world events, or indeed any events. Hugs to you.
Here are the New Goodies
Cut files to match stamps
Please note, you will automatically receive free cut files to compliment your stamp set upon purchase, it will come to you via email download. Look out for the email notification.
Bonus cut files for card frame and hanging decorations
I am preparing an extra FREE BONUS cut file bundle to include the decorative card frame and extra shapes for making hanging decorations such as the Sleigh and reindeer garland, plus a few other goodies. This extra bundle will be finalised over the next few days and I will manually email that to folks who have purchased the stamps that it will suit.
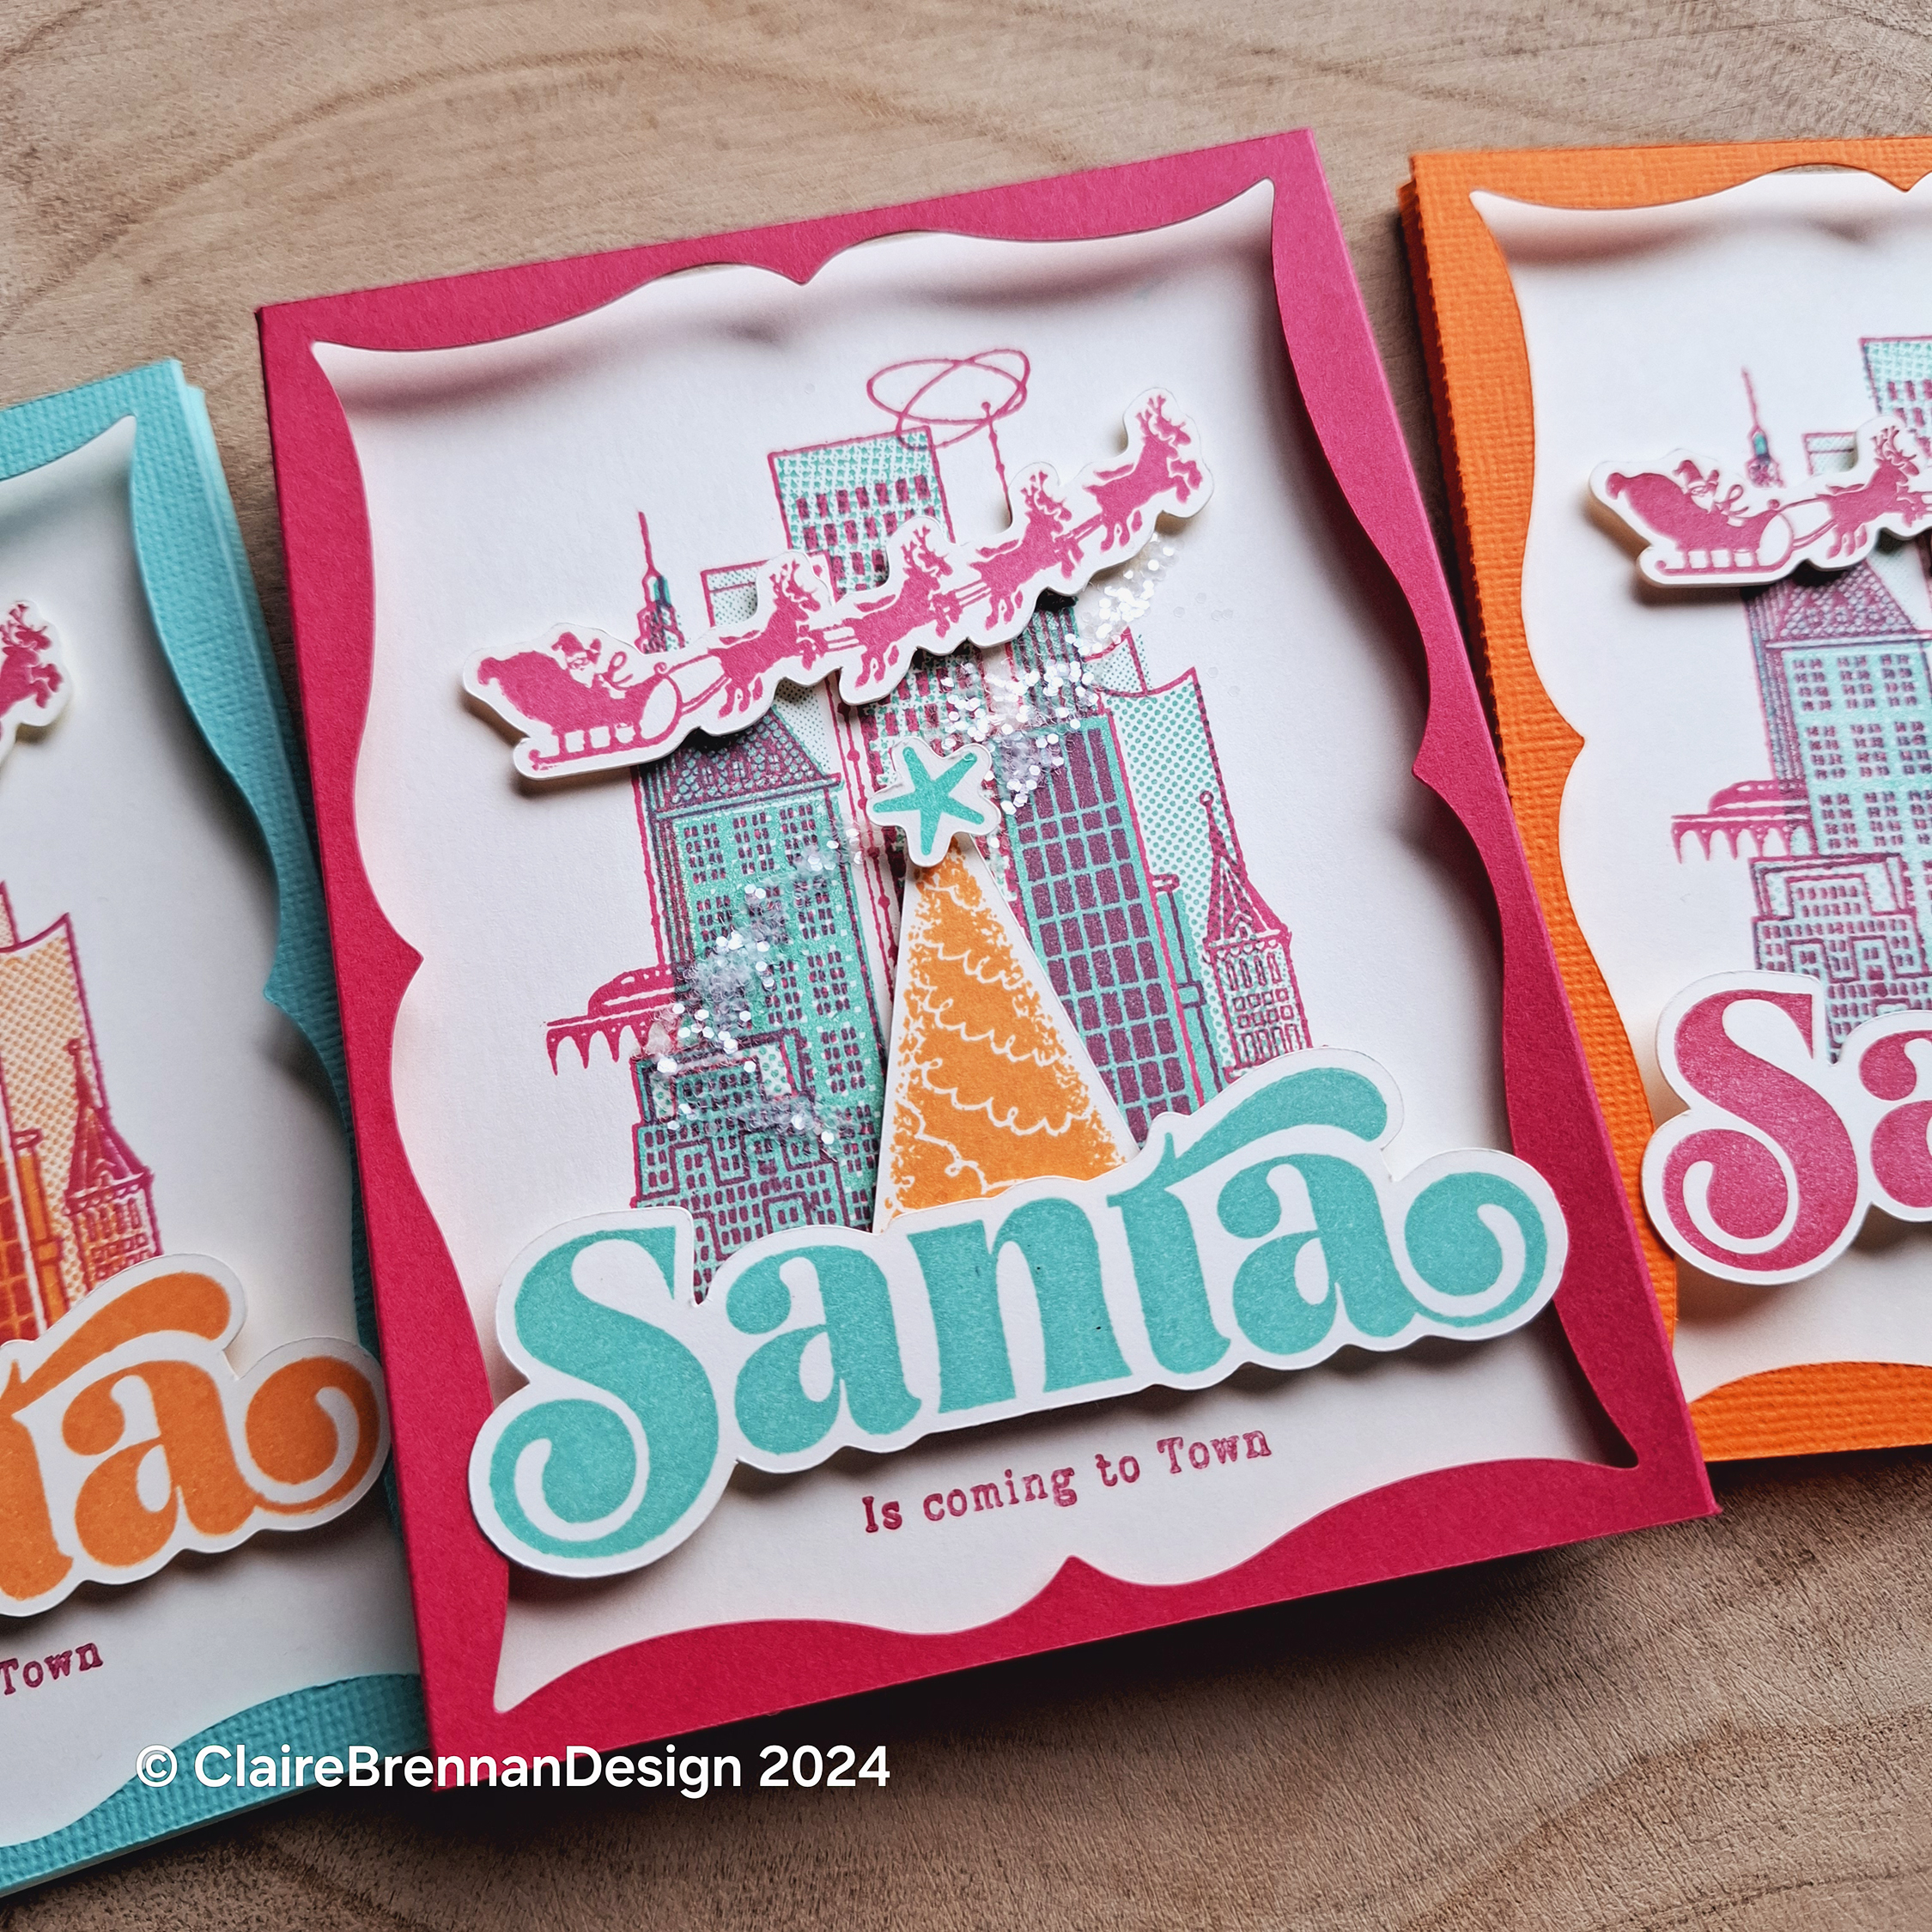
Santa is coming to Town

Santa is coming to Town. Clear Photopolymer stamps, Set size 4 inches by 8 inches. £14.95 GBP
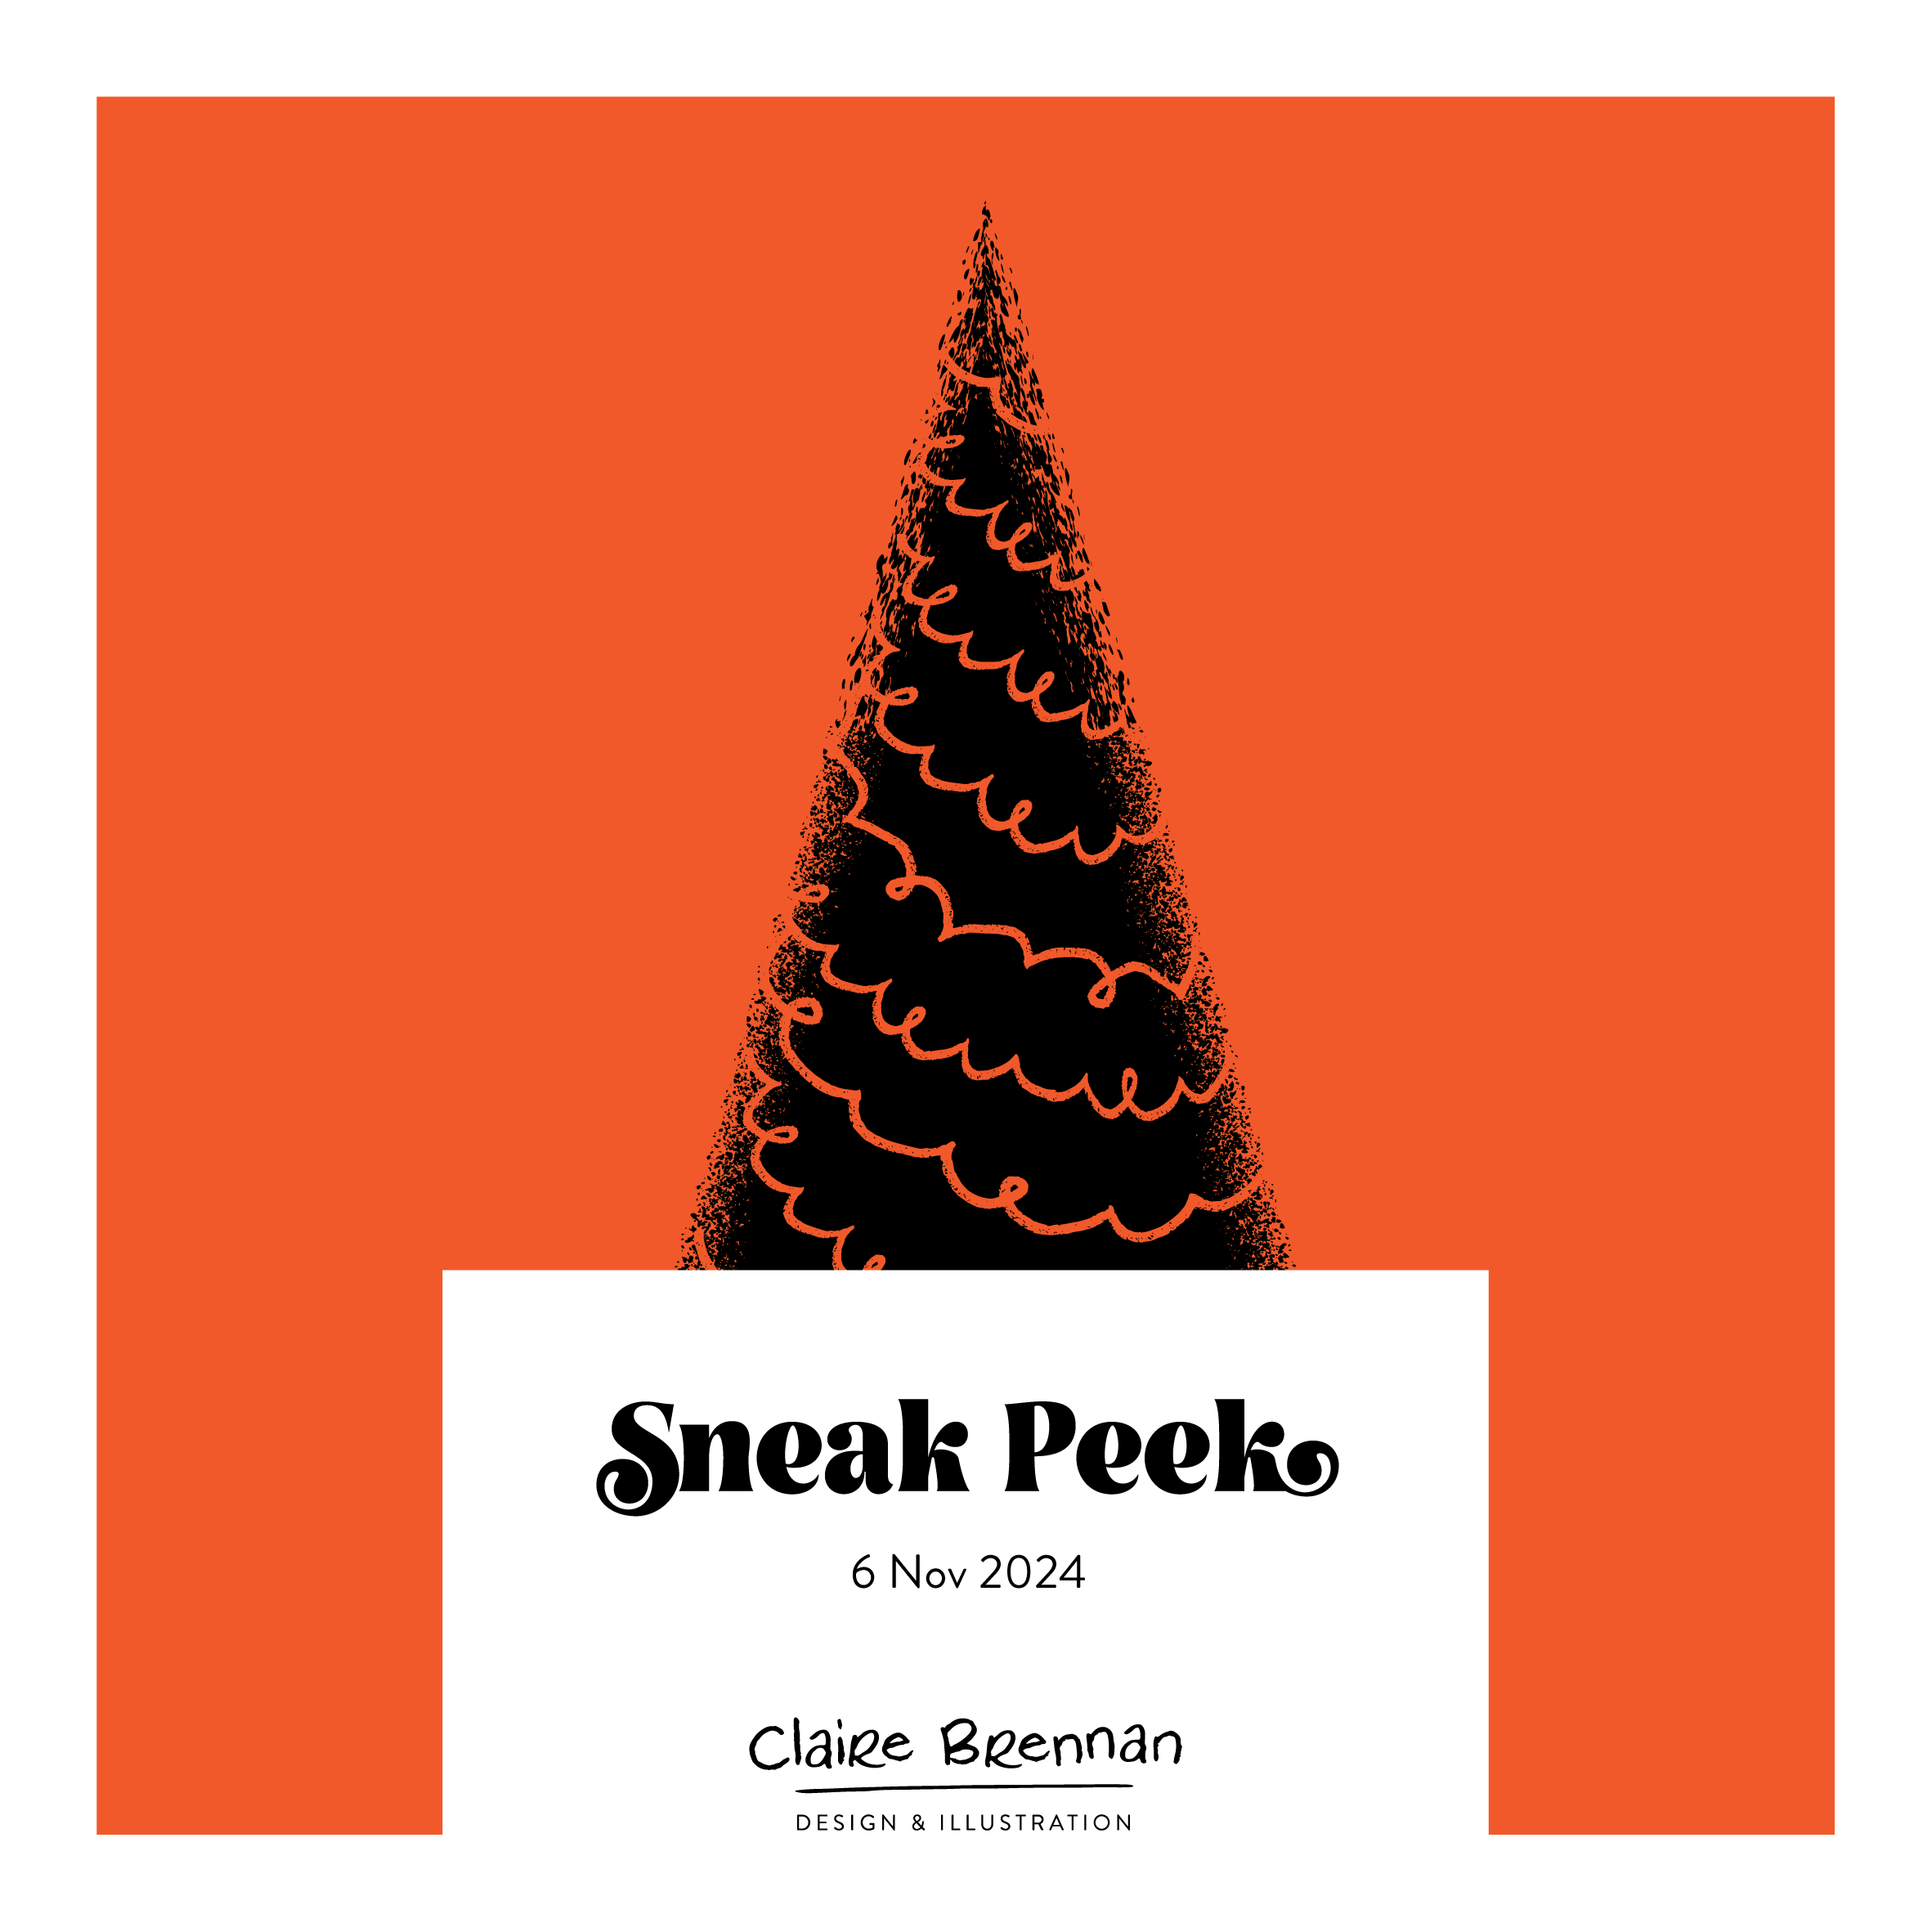
The Jolly old Elf returns in this little set with a retro flavour. The solid Santa stamp stands with arms outstretched, ready to show you Christmas trees, put up wreaths, and even hold the reins of the sleigh. The outline Santa checks his list, are you on it?
The retro Christmas tree comes with tiny decorations, there are some for the wreath also, but this is your opportunity to dig out your glitter and your pearls and get to embellishing, remember when we used to do that? heck maybe even get the ribbons back out! Whatever you do, have fun!


Sleigh Bells Ring

Sleigh Bells Ring Clear Photopolymer stamps, Set size 4 inches by 8 inches. £14.95 GBP
Sleigh Bells ring, are you listening? It’s time to create cards, place card, gift tags wrapping paper, whatever you like with a sleighing theme! The detailed sleigh can be stamped simply to fit in with modern or retro themes or you can add a little pencil shading or sponging to give it a more antiquated feel ,see the green card below. The sleigh is two separate stamps so you can have the carriage contrast with the legs – picture golden gilded legs with a deep red carriage, you get the idea.
Fill your sleigh with gifts or Santa sacks and create all manner of Christmassy things. Add bells and bows or not as you see fit.


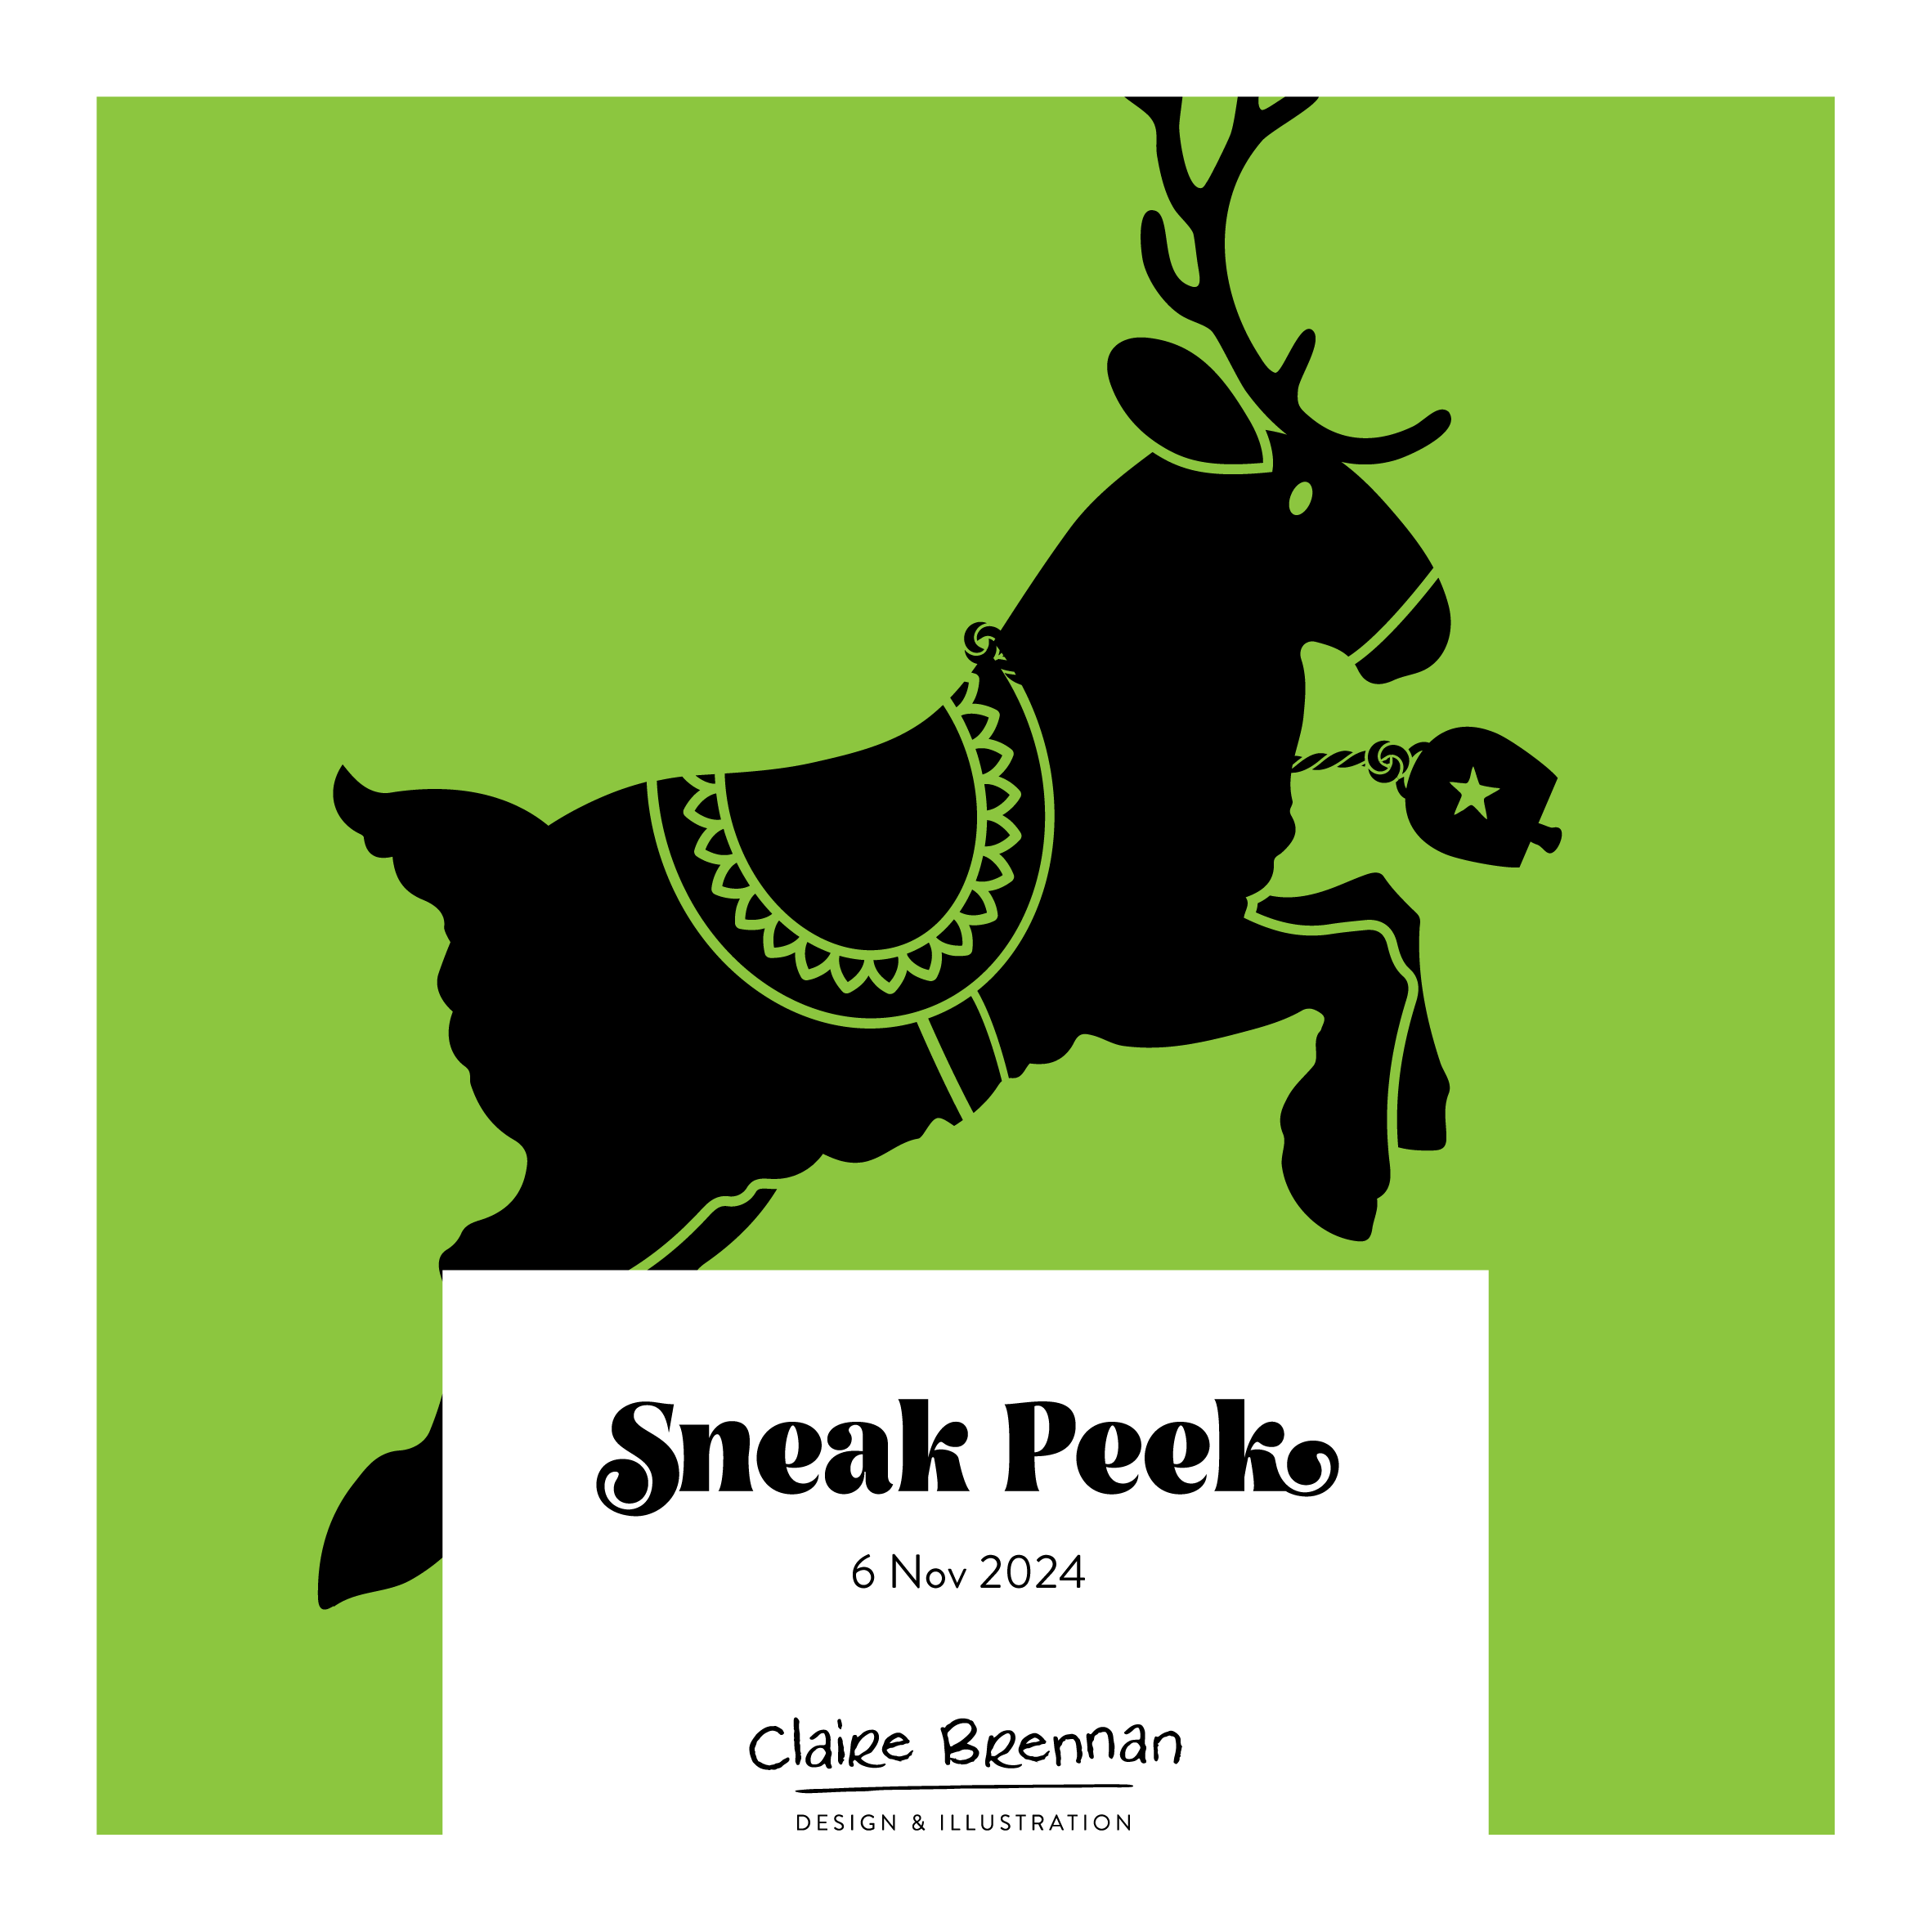
Jingle All the Way

Jingle All the Way Clear Photopolymer stamps, Set size 4 inches by 8 inches. £14.95 GBP
Reindeers with bells on, or without. Reindeers jumping, walking, trotting, you decide. Solid and dependable stalwarts of Christmas, this team have delivered magic for as long as I can remember. Make cards, bunting, gift tags, place cards, pair them with a sleigh and create your Christmas! Make the whole team, add a Rudolph! Add a sassy robin or two.


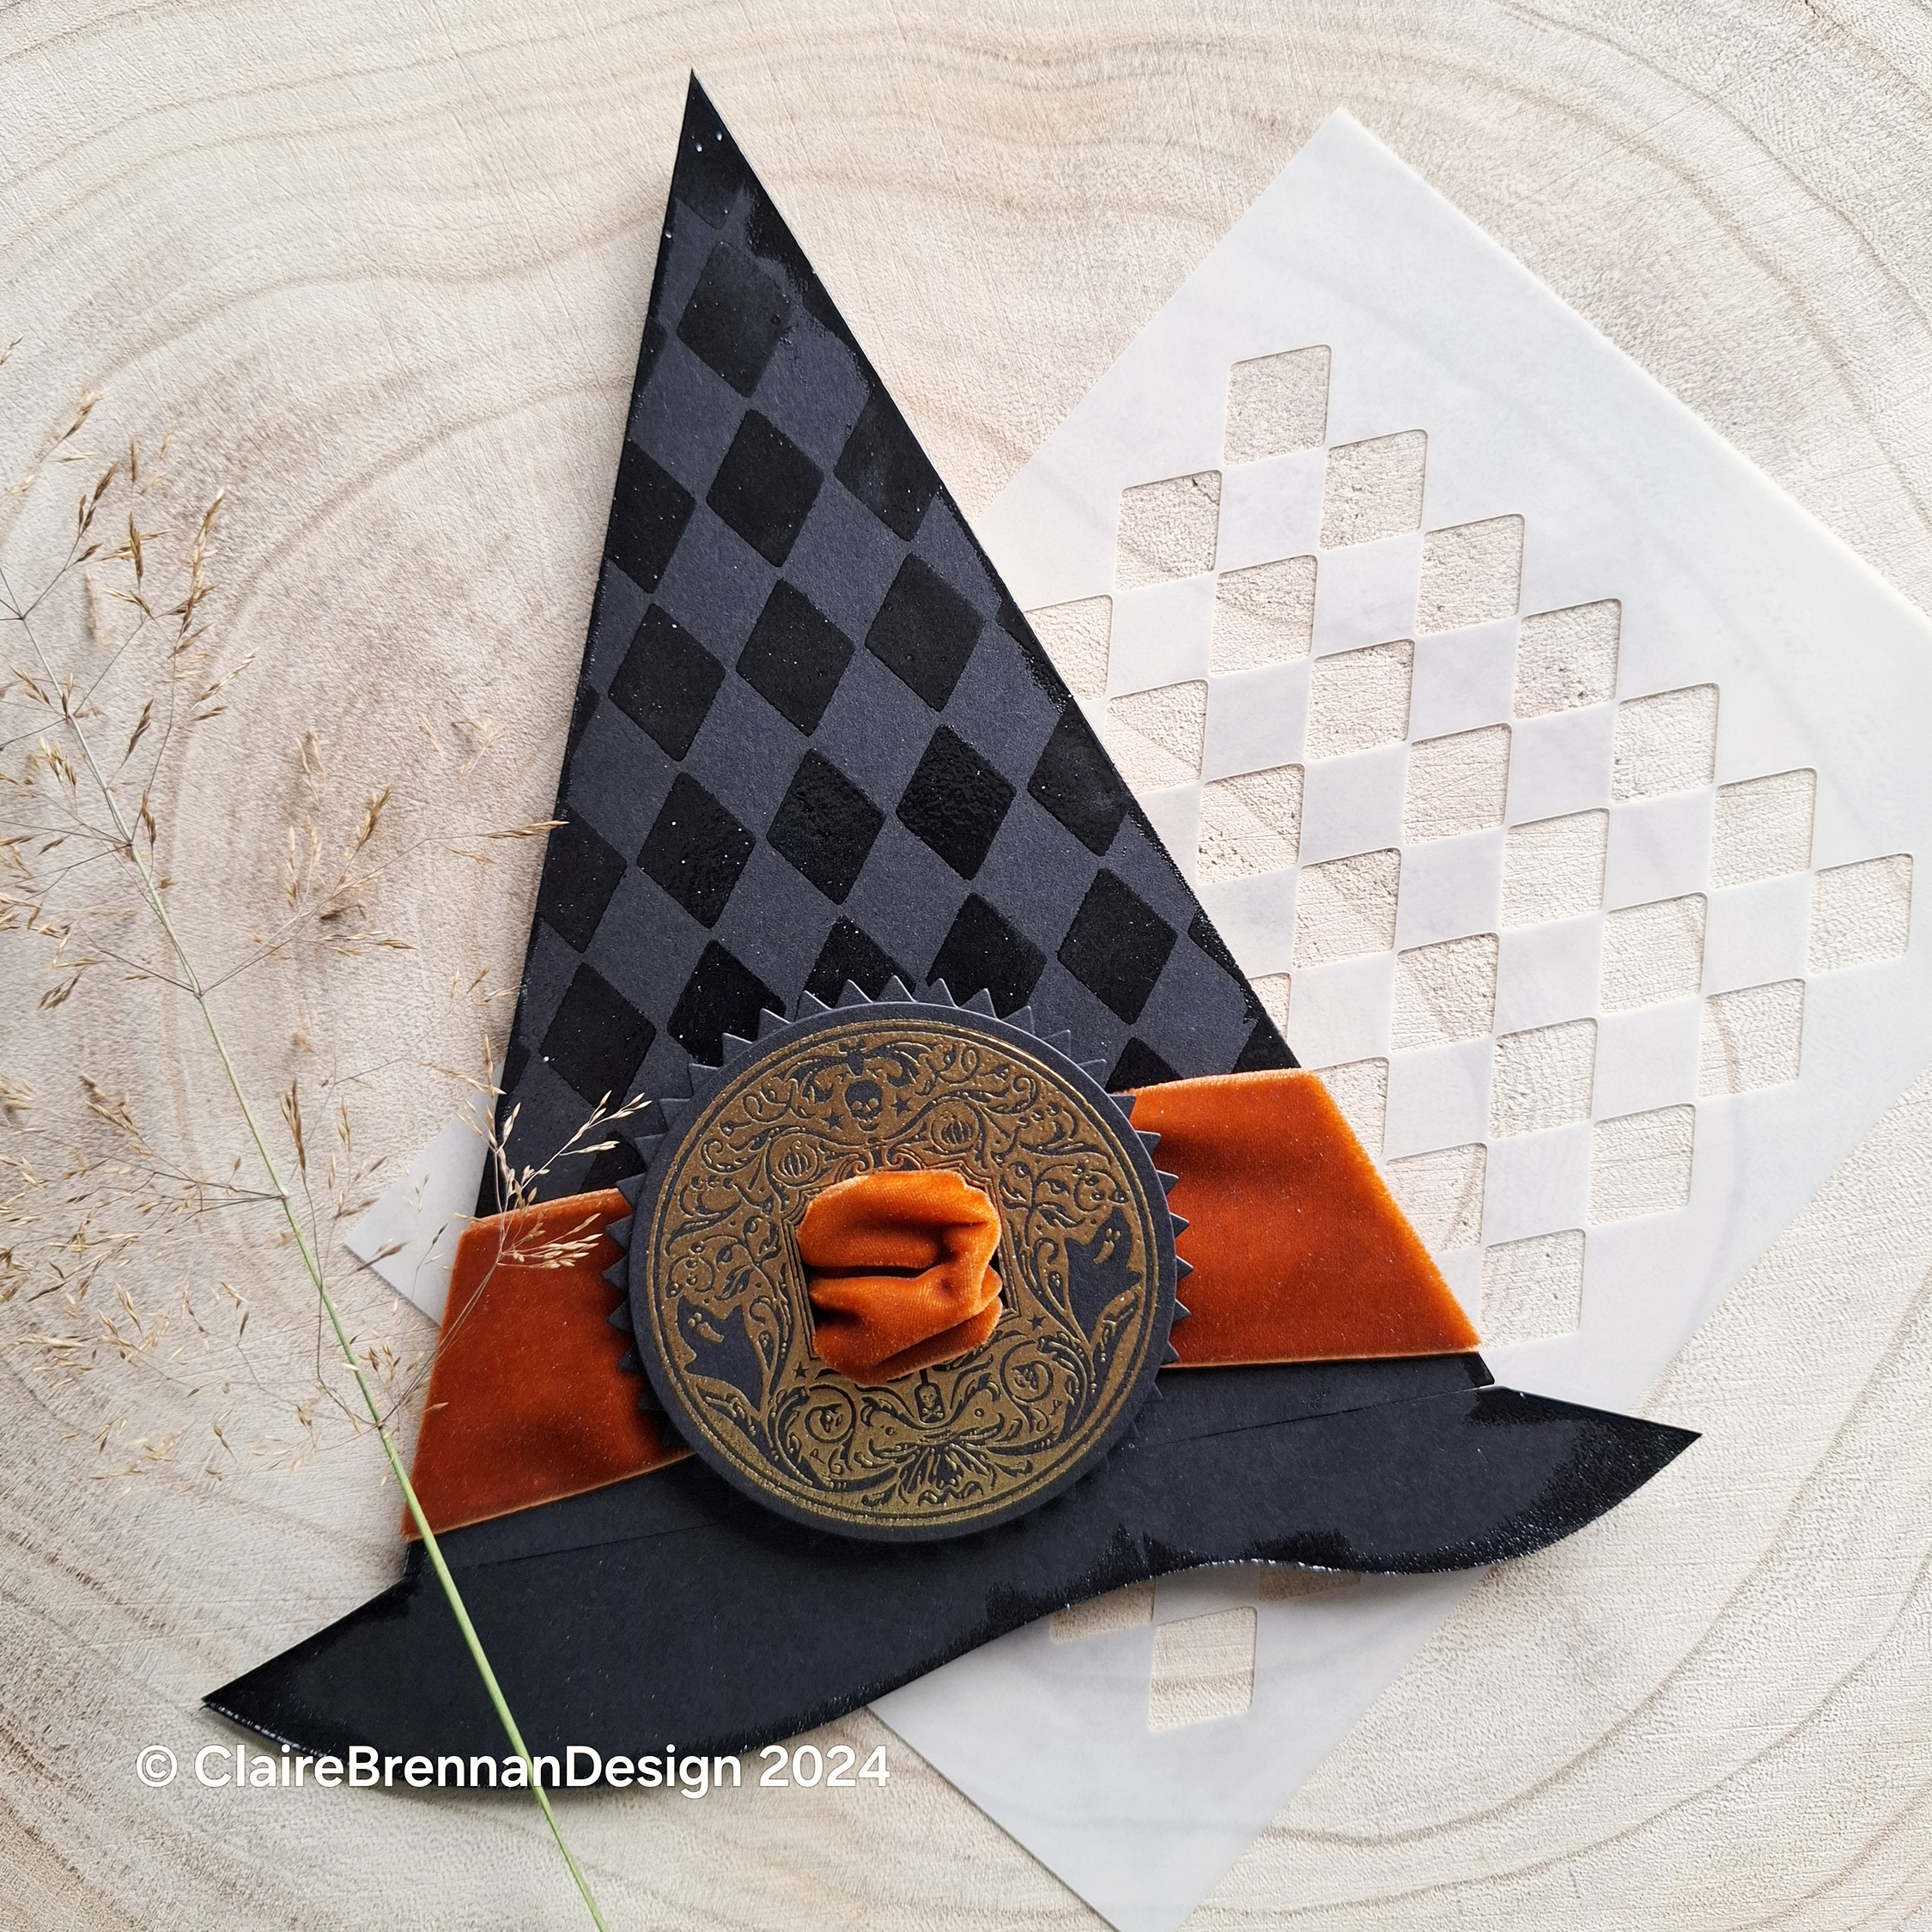
New Stencils
We have 3 new stencils this release, Candy Stripe, Peppermint Swirl and Ho Ho Ho.


Each stencil is A5 and priced at £4.95 GBP
Box Frames
Some of the cards I have made for this release feature a box frame, I will be including cut files for that in the Free Bonus cut files bundle. Here’s what it looks like on the cards, its super simple to add to a card and gives a nice pop of dimension, turning your card into a fun piece of home holiday decor. It squashes down flat to let your card fit into an envelope and it pops up nicely again for display once the card is delivered.


Thanks for popping in, I will be sharing some more samples from these sets over the next week or so – do pop back for more inspiration.