
Instant art you can make with new layering stencils

Stencils are all the rage right now – that feels very 1920’s to say, but I think it’s true, everyone seems to like stencils, layering stencils in particular. I will admit that I might have been a little bit of a stencil snob until recently – in that I didn’t really have much interest. My previous experience of stencilling being soggy wet card stencils made in primary school that slowly disintegrated across the face of the shiny paper pulp that the teacher called ‘art paper’.
Then, some stamp samples that I had ordered, entered that dead-slow-stop portion of the delivery-sphere reserved entirely for things that are needed in a hurry, and stayed there for 5 weeks. Unable to wait patiently, I thought I’d look into stencilling. I bought some plastic and cut a stencil. Disaster. Wrong material and the cutter was audibly upset. Then I thought I’d try a bit harder and discovered that mylar is actually the business in the stencil world. I got some and I made up a couple of stencil designs and cut them out. I was immediately bowled over, what great fun. I got a bit carried away and made a whole bunch for the store, you can see them here.
Next I thought it might be fun to create a scene – a forest path to complement the other stamp set I was waiting on, so I drew up a scene and then began taking it apart to create layers. This part was a bit of a head scratcher, but I’m pleased with how the layers work. There are 6 layers in all.
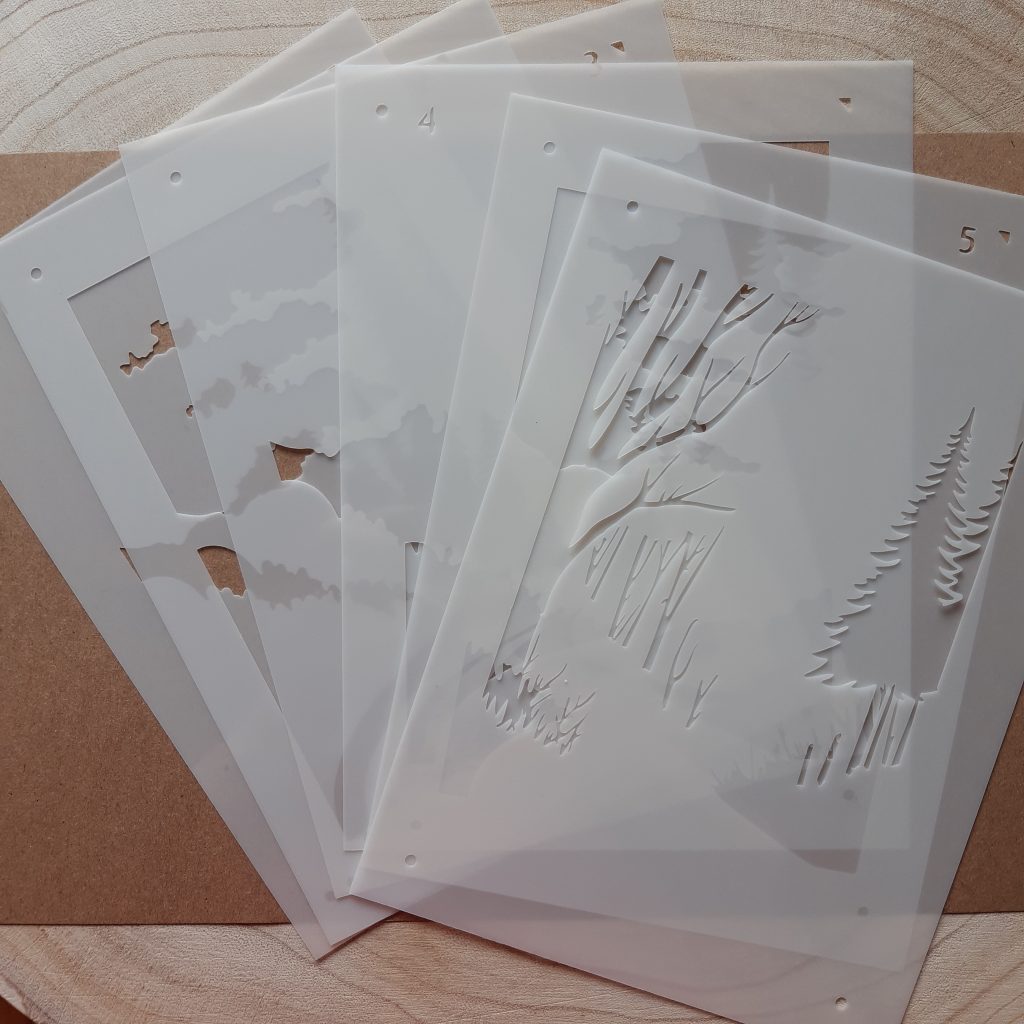
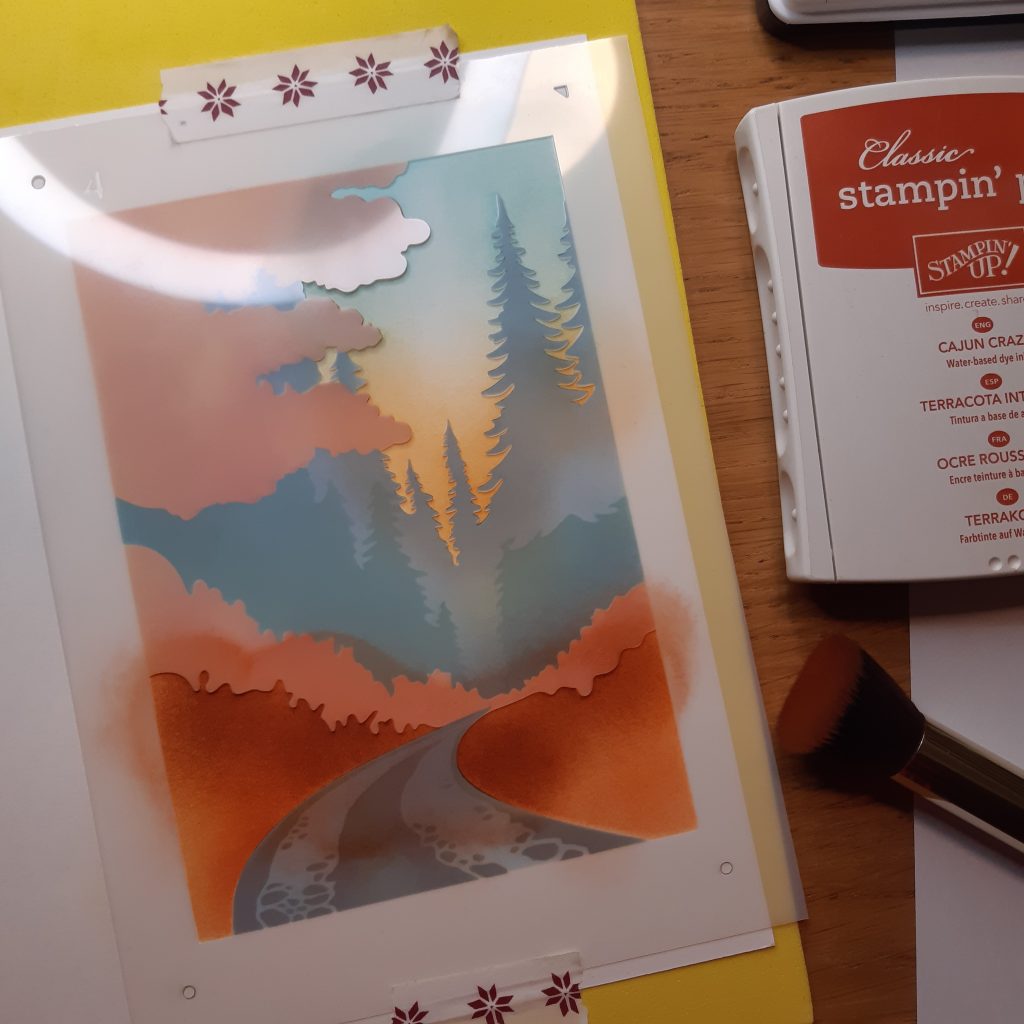
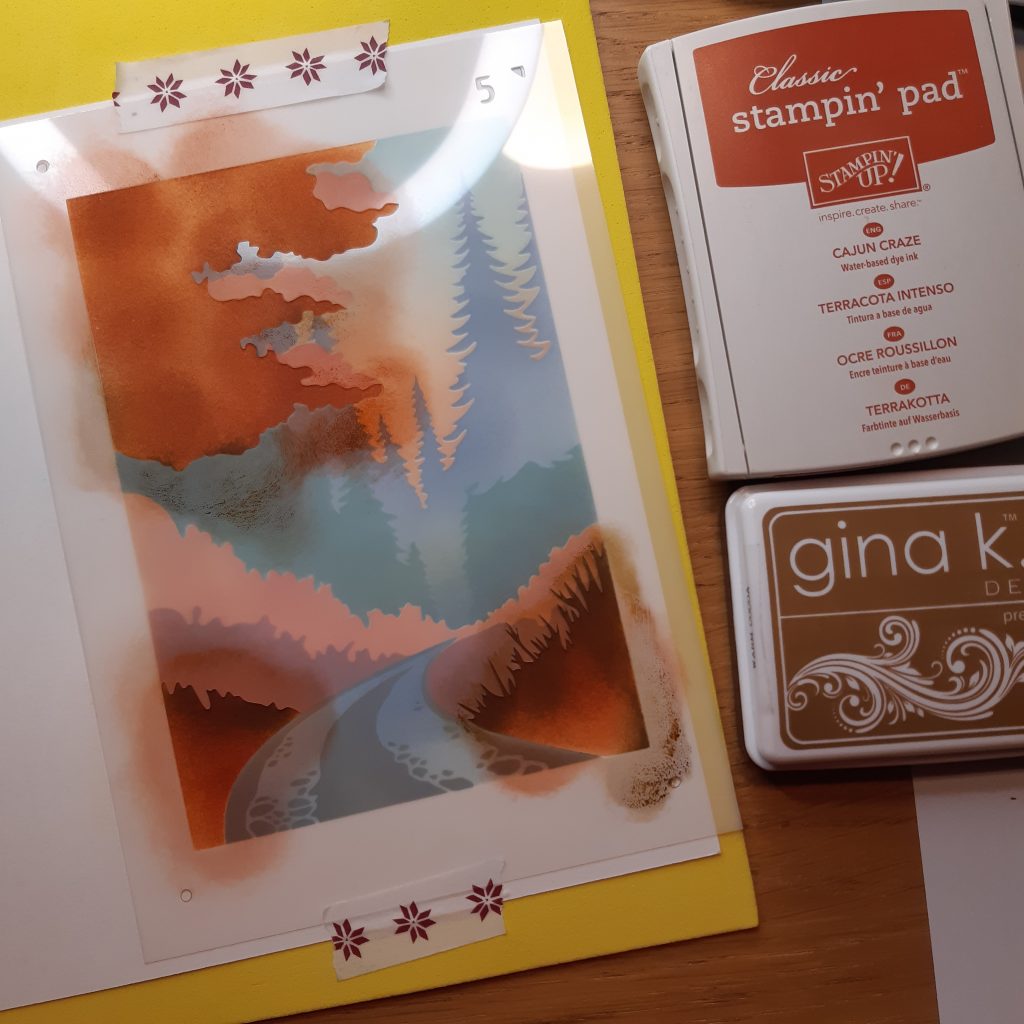
The Forest path layering stencils set available in my store comes with a handy guide on what order I use them in as well as suggestions for colours. I’ve made these quite detailed because I love detail. This presents a challenge though and while I cut these myself (with my plotter/cutter machine), I have to keep a really tight rein on them – I check every set to see that they line up. Mylar is slippy stuff and I keep them in place with a tacky matt while they cut, but there can be a little strain on the machine, so at the moment I’m making limited quantities and checking every set – this is a slow process, but I think it’s worth it.
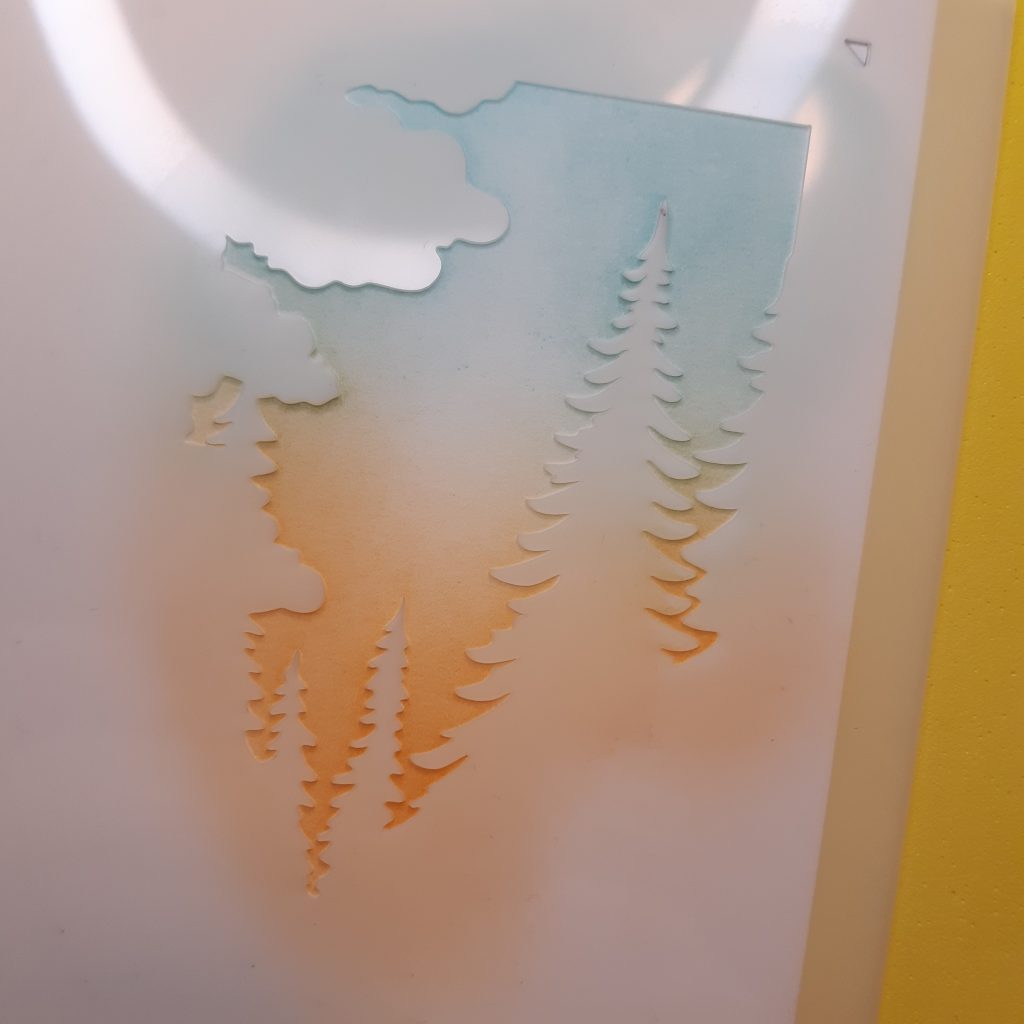
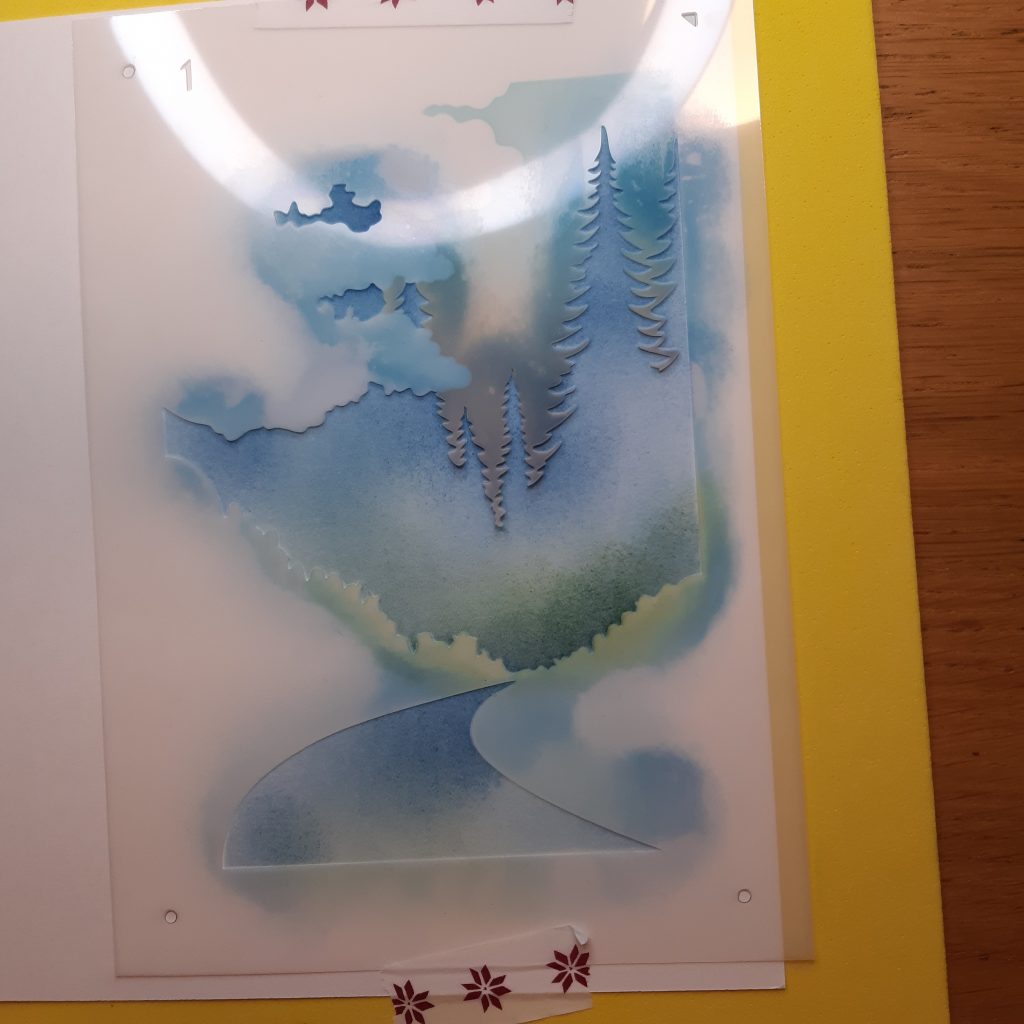
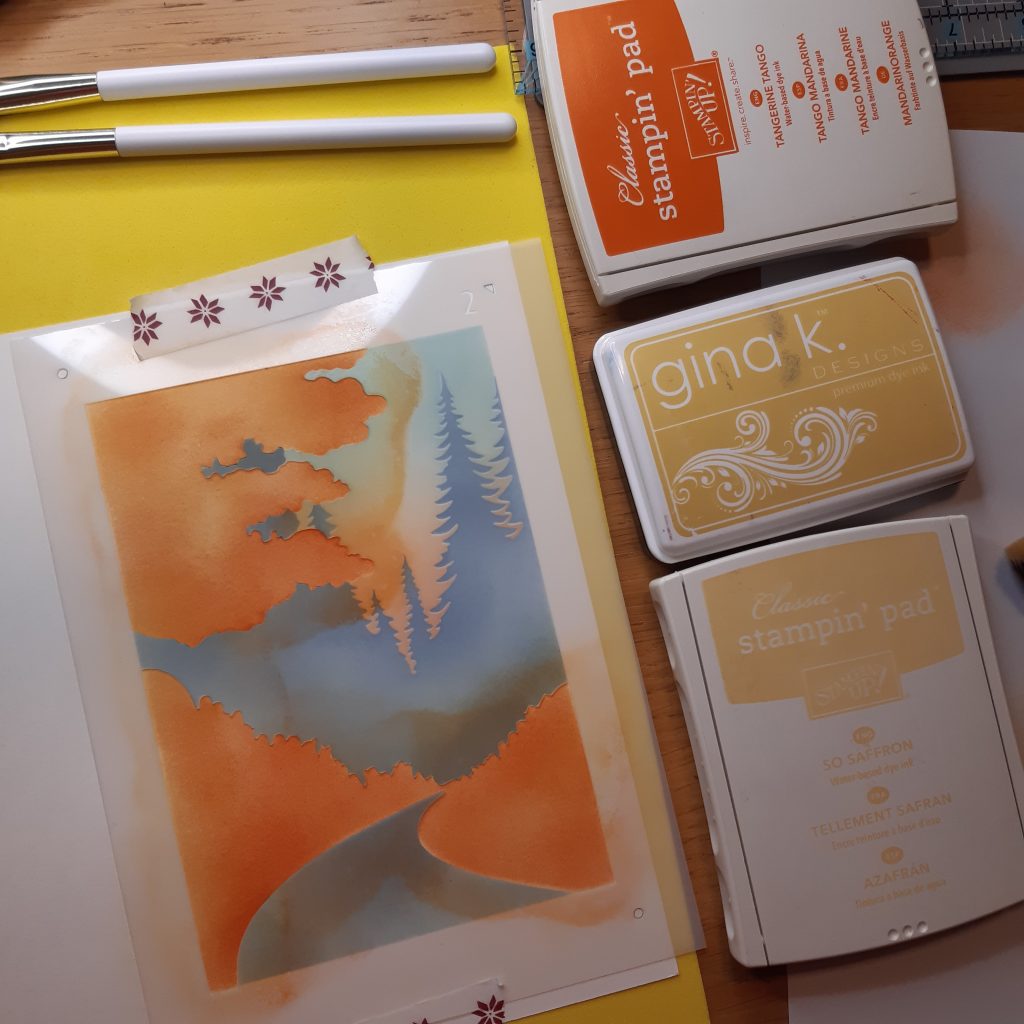
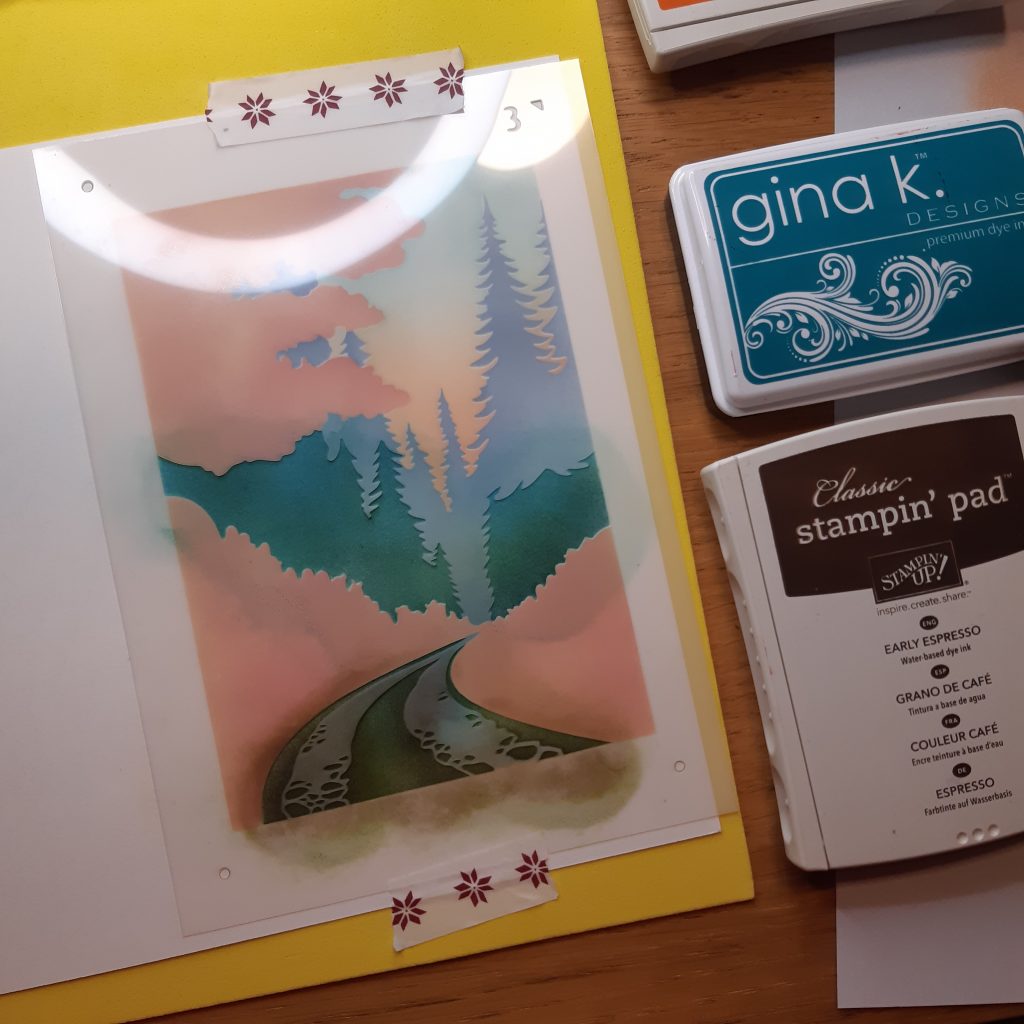
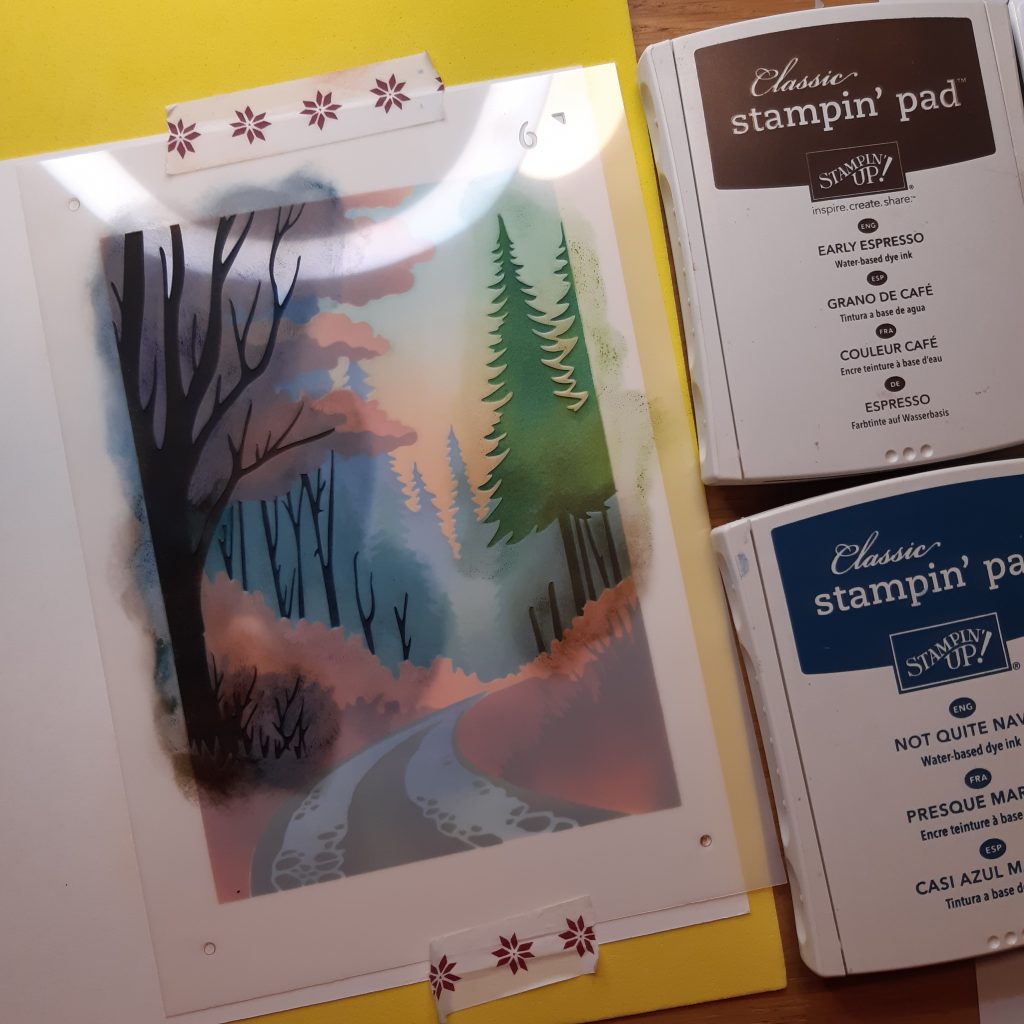
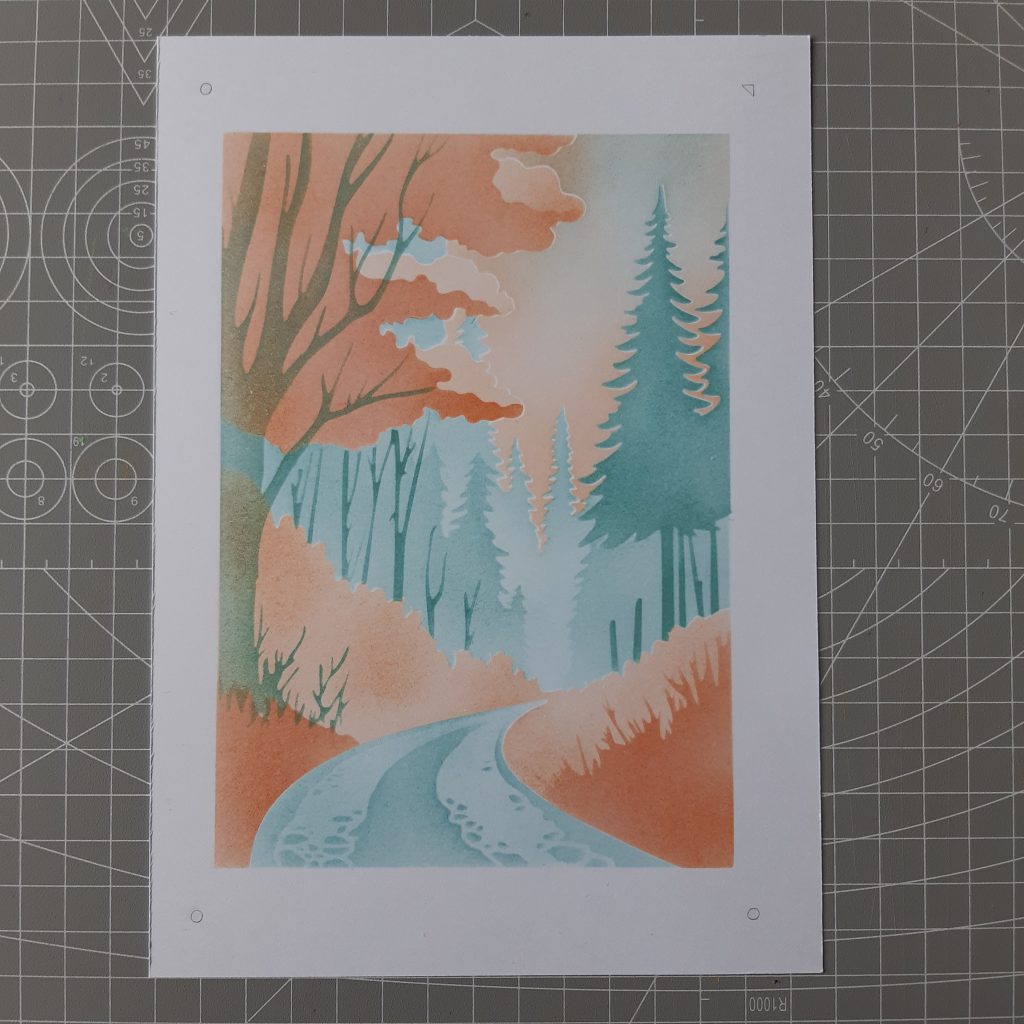
Here’s a small gallery of images I took as I worked through a complete image. You can see how detailed the pine trees are. One thing I will point out here is that these detailed stencils really do best with soft brushes – do not be tempted to used sponges on them unless you can sponge with an up and down motion, with no dragging – look how delicate the pine trees are and imagine pulling a sponge across that – you just are not going to get the lovely airbrushed look you want with delicate stencils and sponges.
I bought cheap make-up brushes for the purpose and was delighted with them. I made small circular motions and the stencils behaved so well.
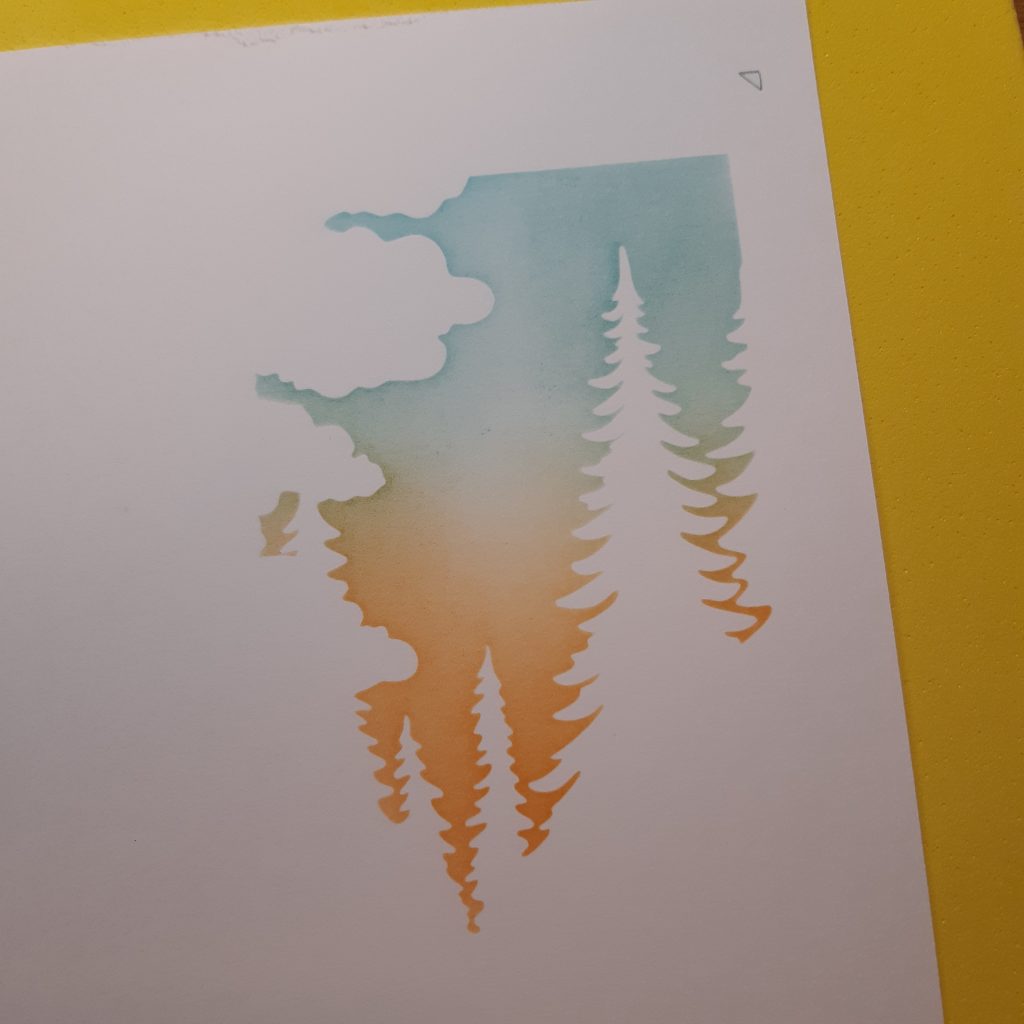
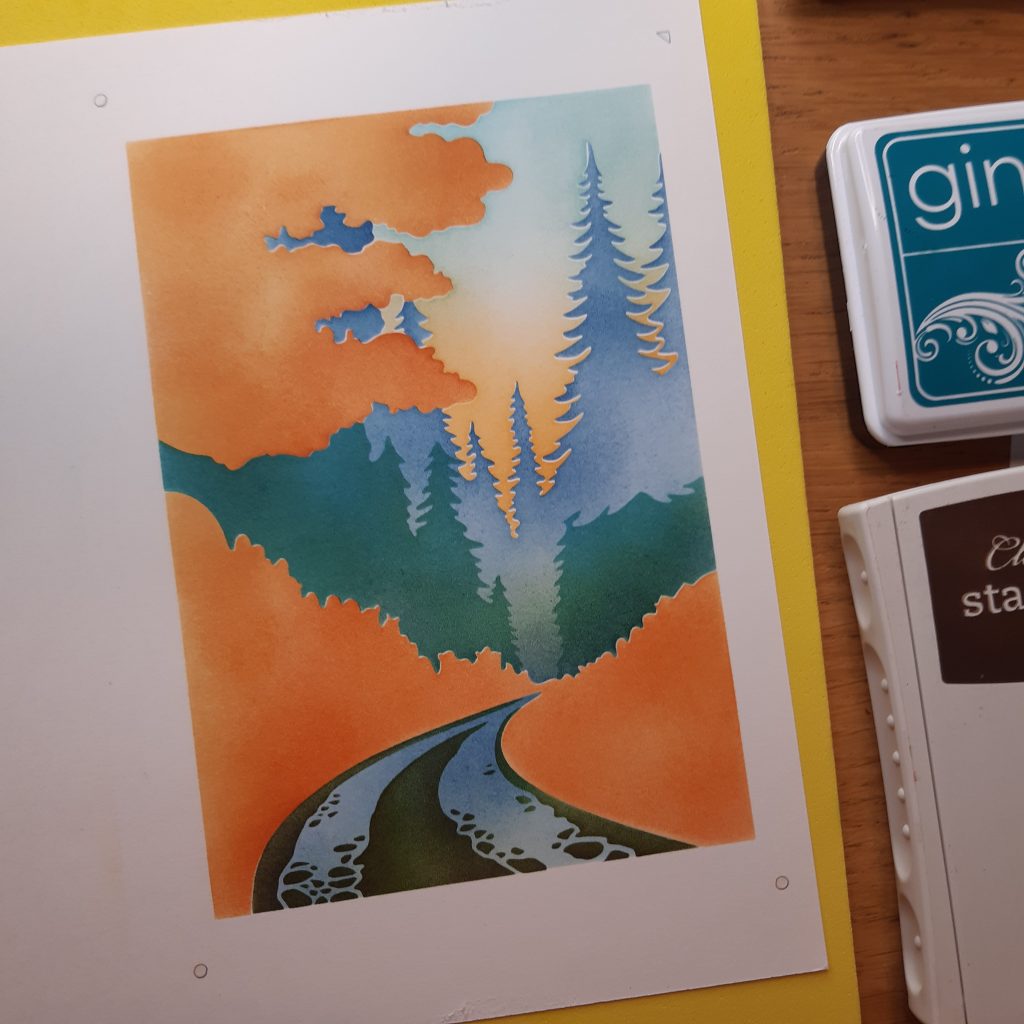
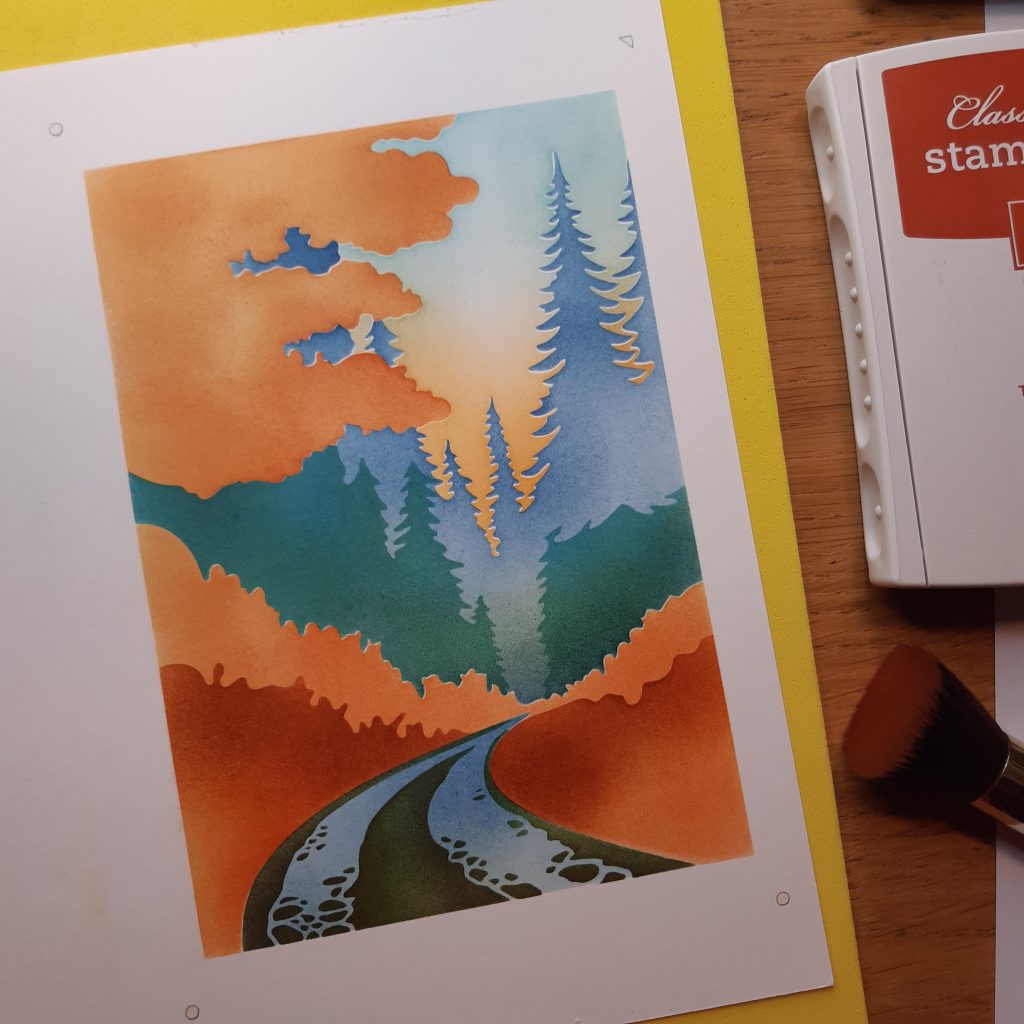
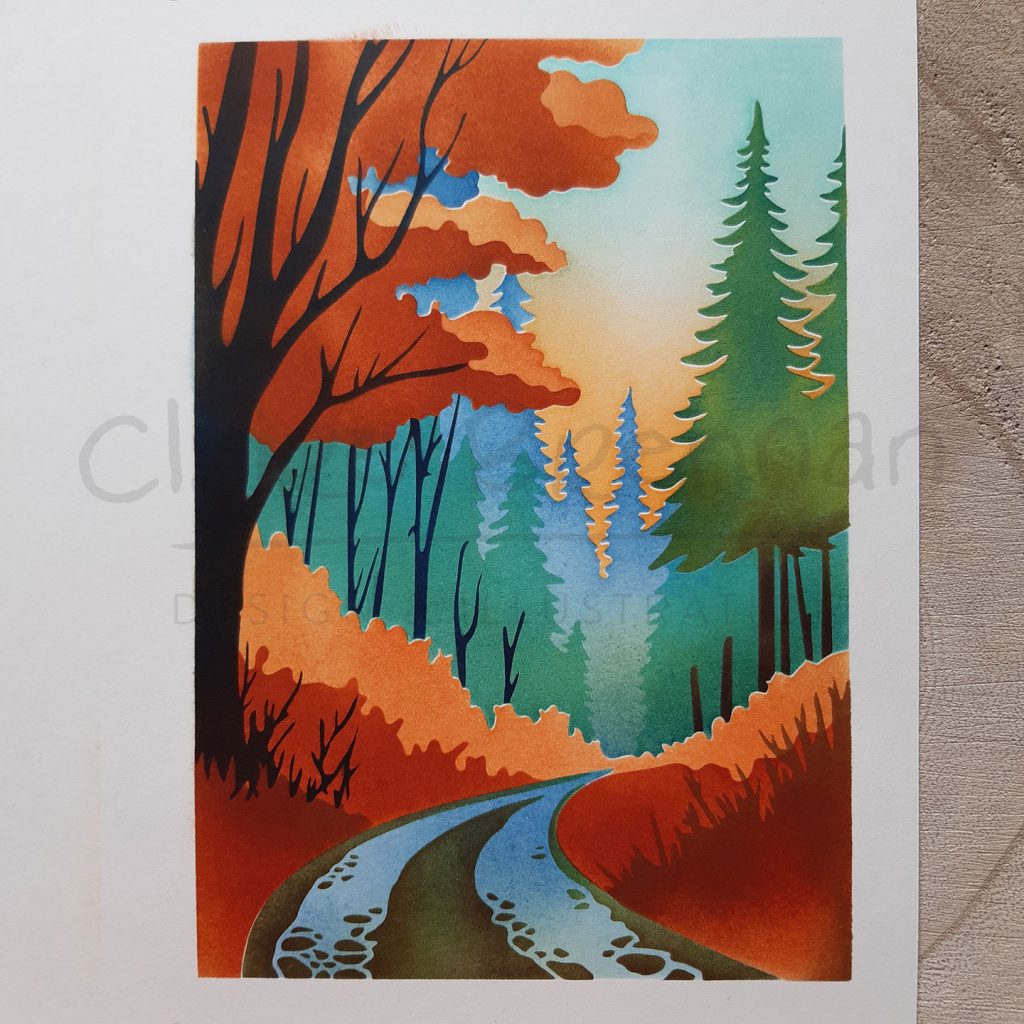
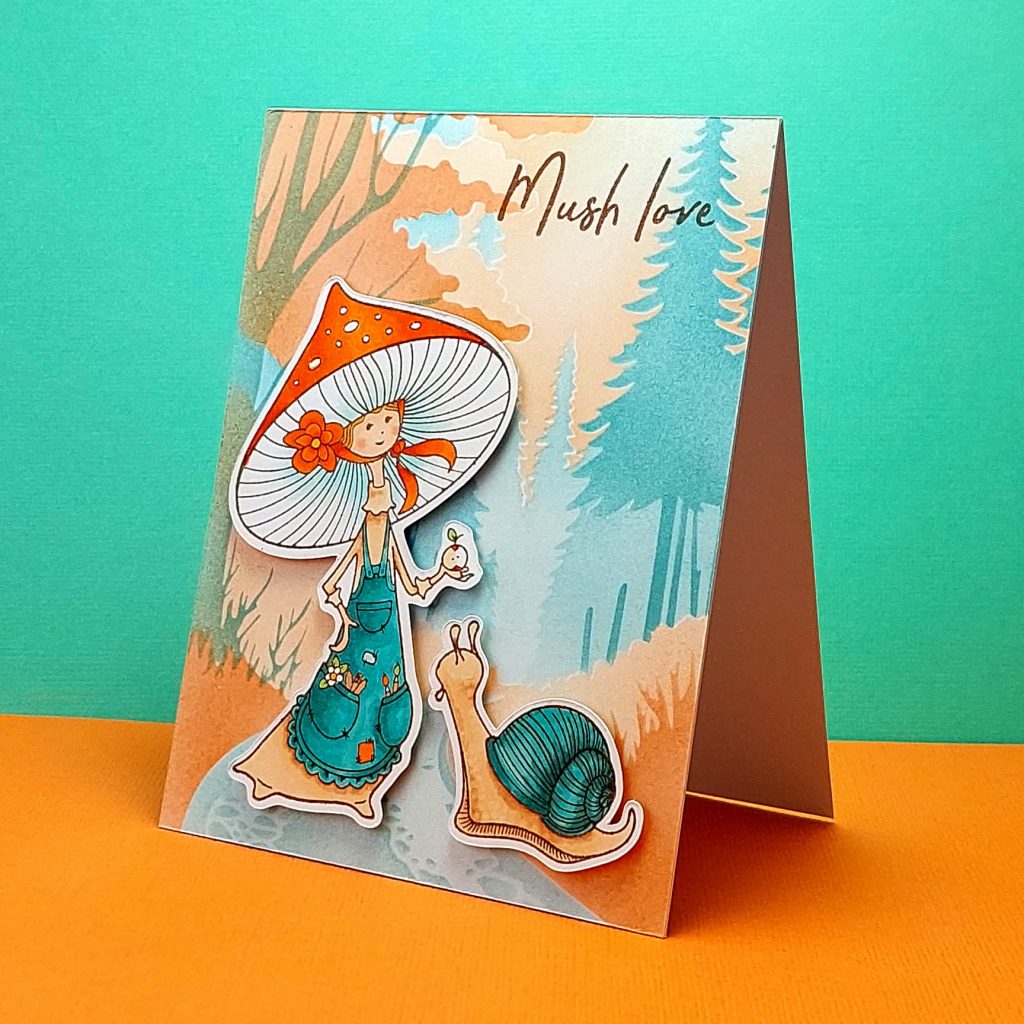
And here’s the finished image.
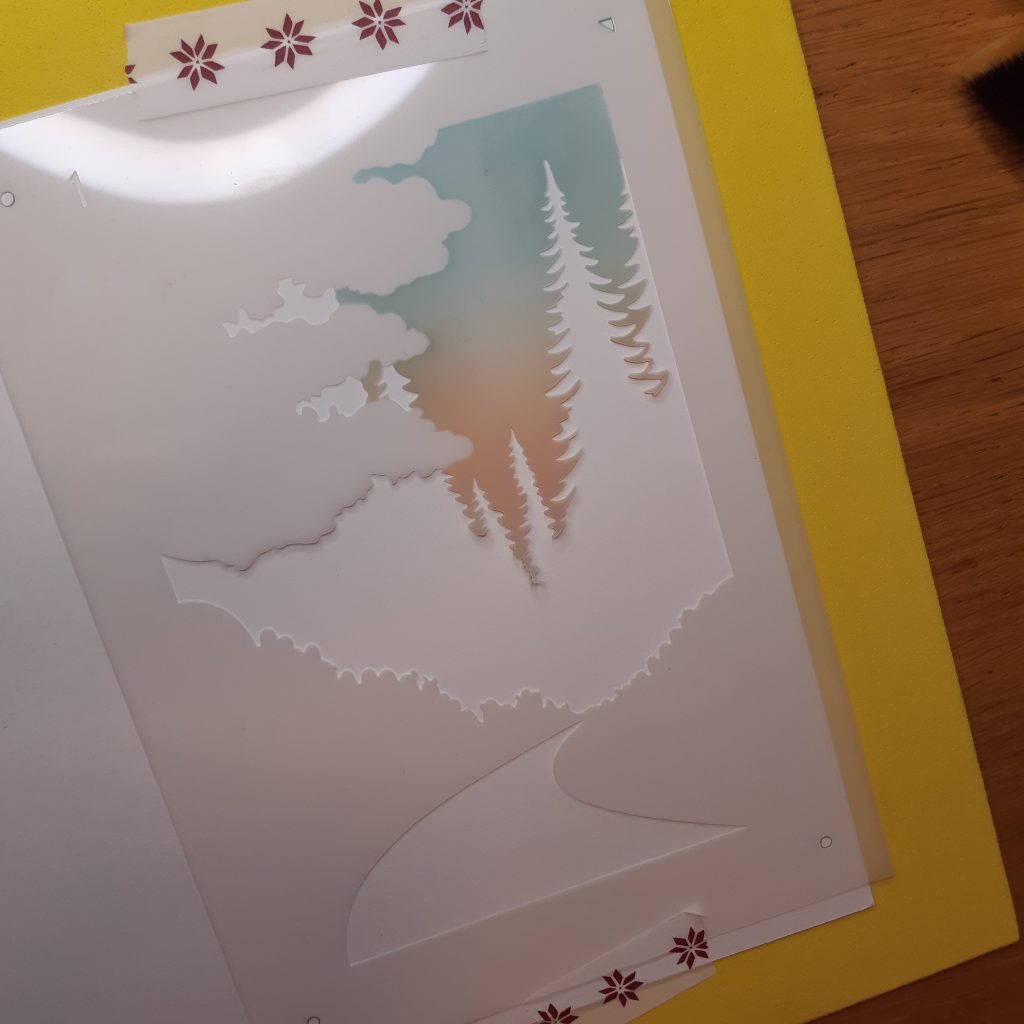
I added a little triangle in one corner and some circular holes in the corners of the stencils – these can help line things up, but I generally eyeball the next stencil in place based on the ink I have already applied. Mylar, being semi transparent makes it super easy to line it up perfectly. I use masking tape to keep things in place while I brush.
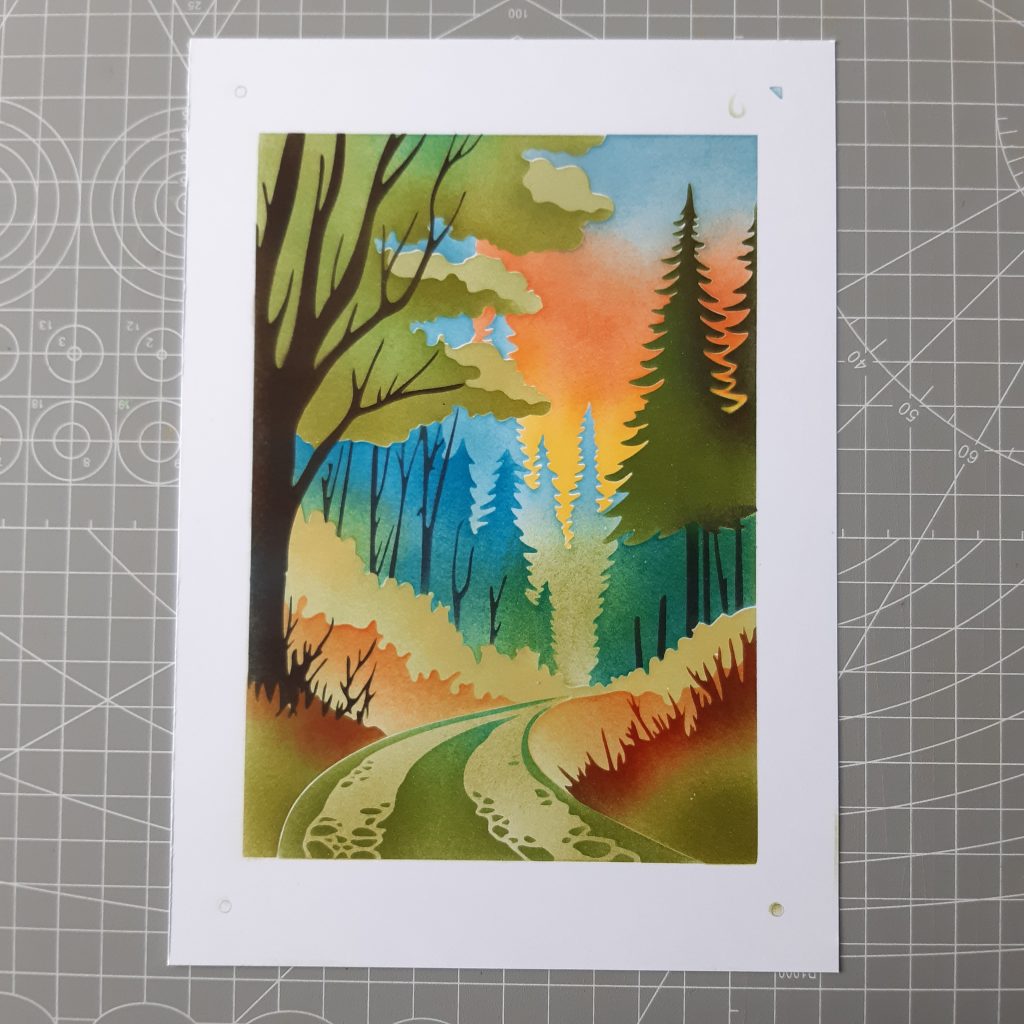
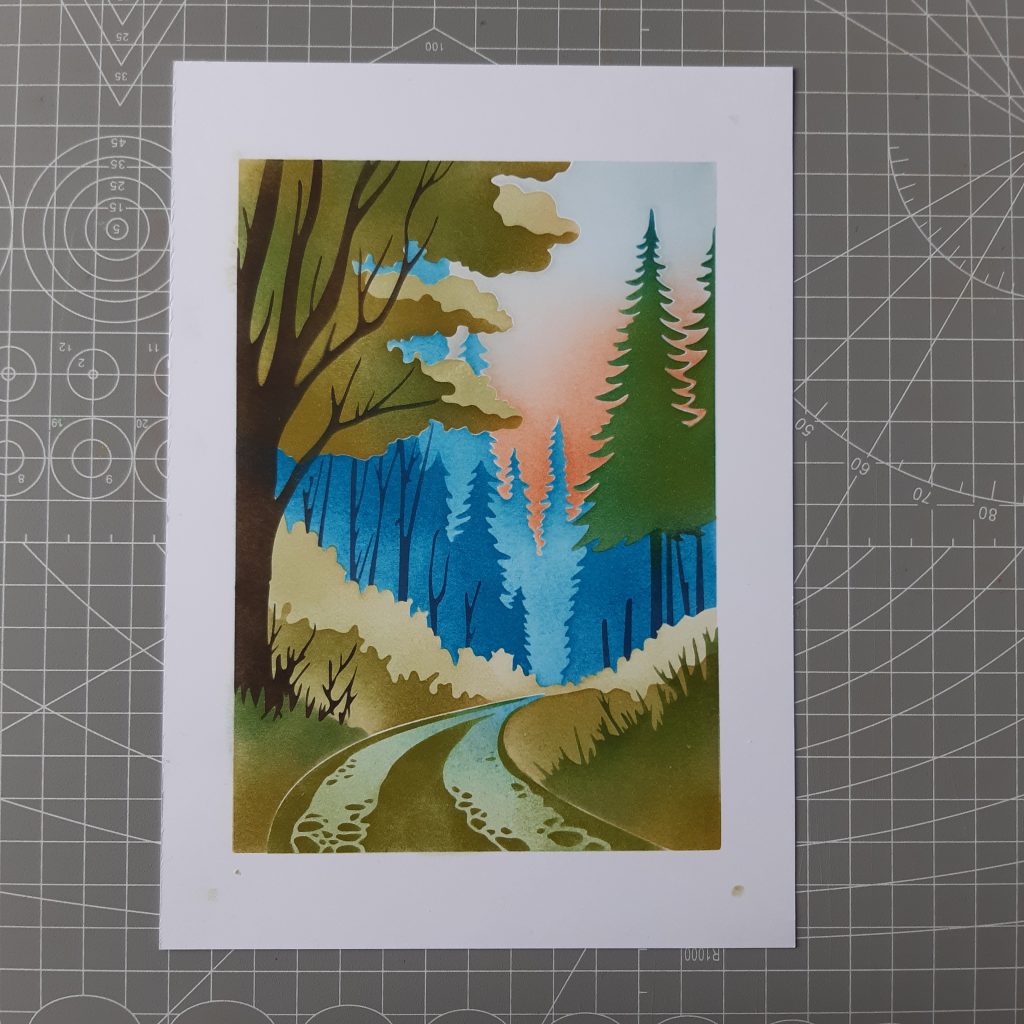
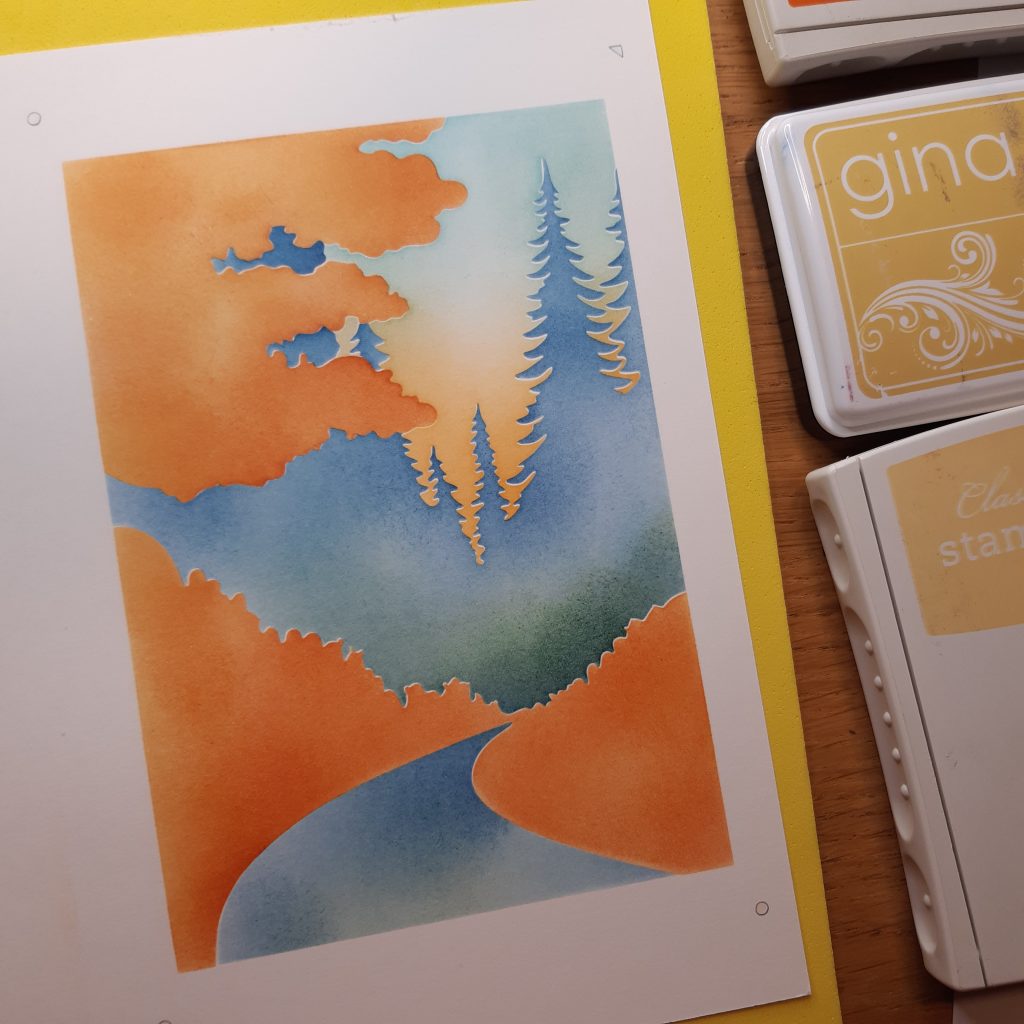
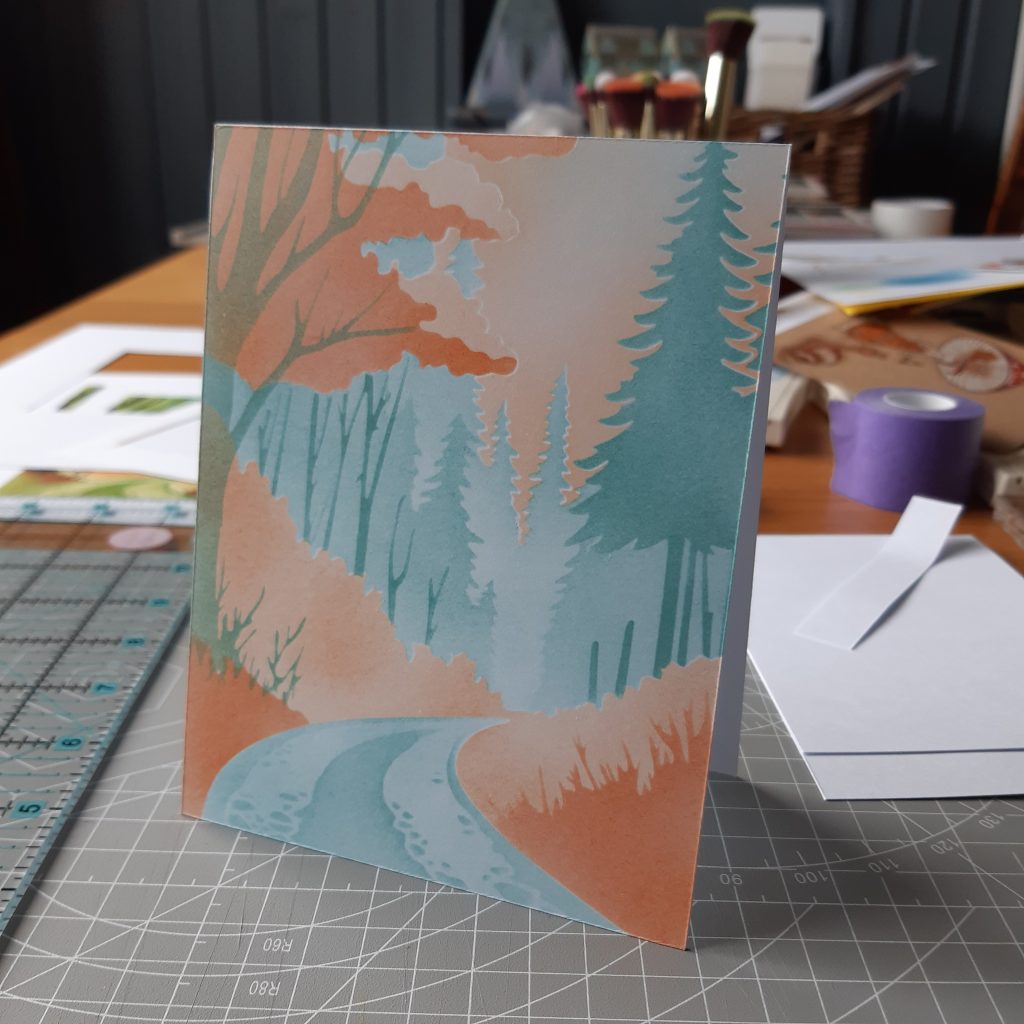
It’s easy to change the mood of your forest path illustration by making changes to the colours you use – here are two more versions I created. I used strong colours because the forest path itself is the focal point in the projects these are intended for.
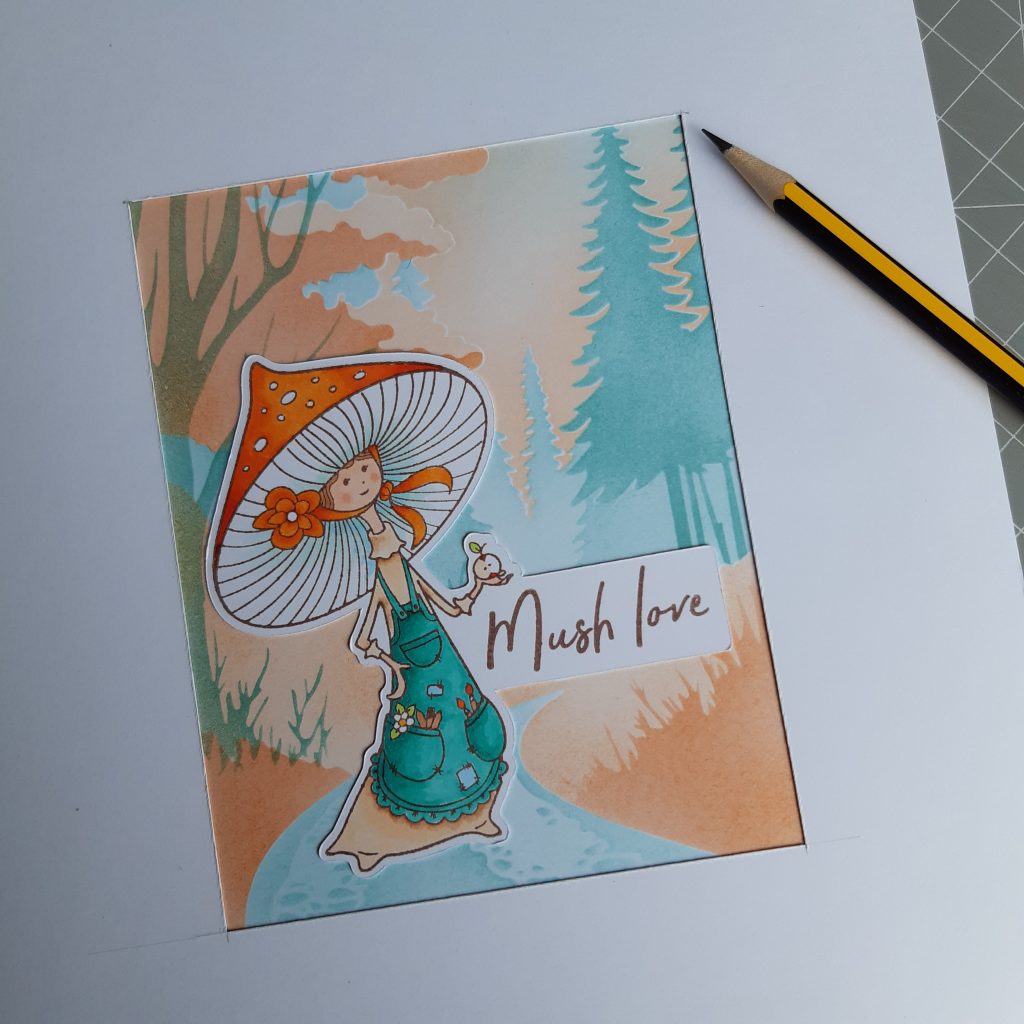
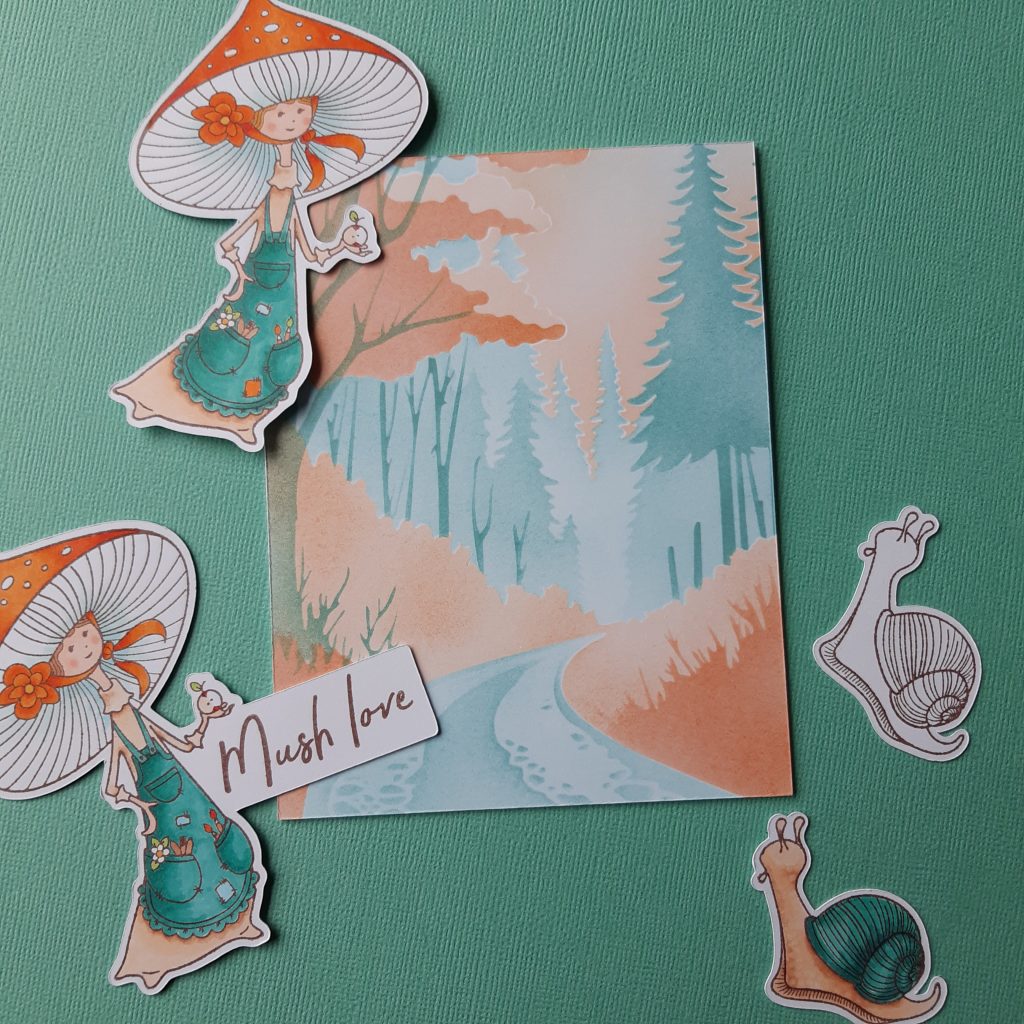
In the project below, I wanted the forest path to be a background, I wanted to make a card front from it and to pop on a mushroom lady and her pet snail (both stamps from the new Mush Love stamp set I previewed yesterday) . I stencilled the forest path in only two colours, and I coloured the lady and snail in stronger versions of the apricot and blue palette.
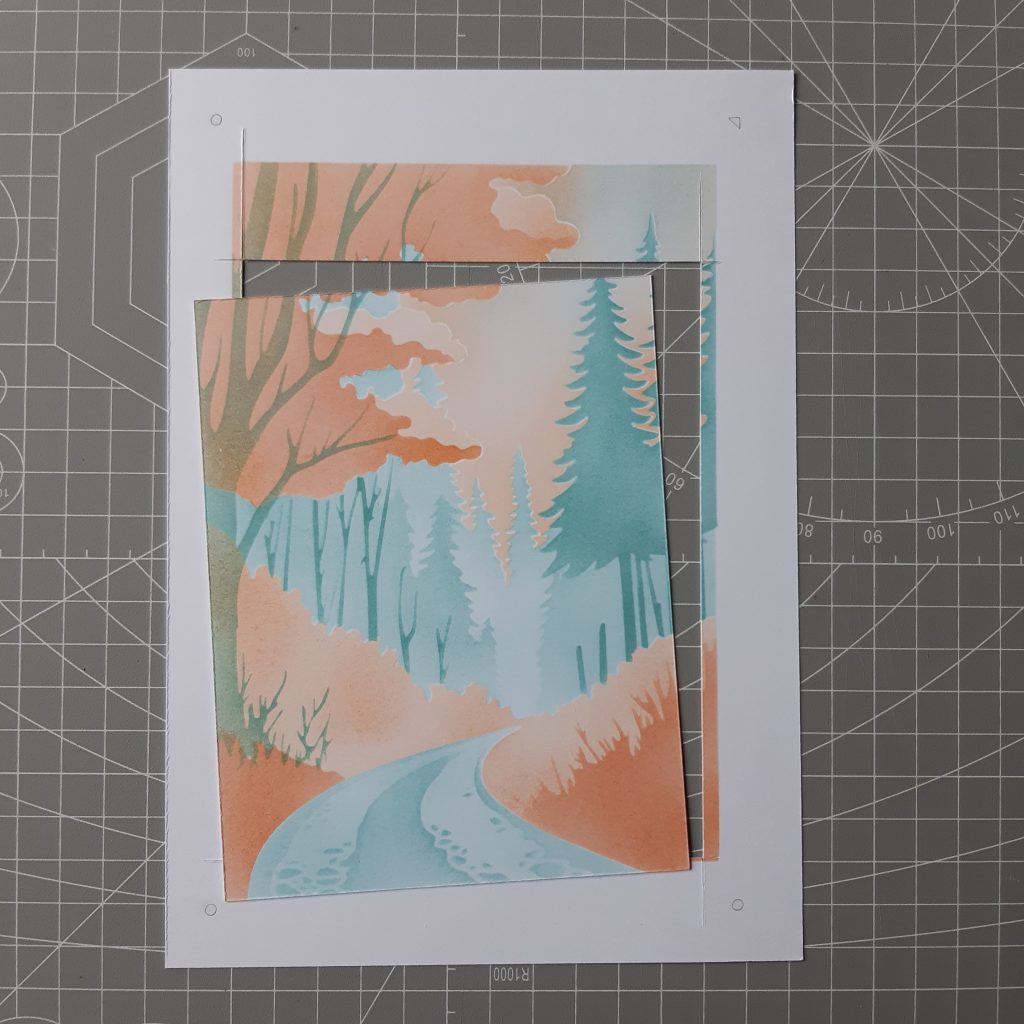
The layering stencils make an image that is 4.5 inches by 6.5 inches. This ensures that it will cover both US and UK card sizes. For my card I chose to make a standard US 4.25 by 5.5 inch card.
I used a viewfinder – which is simply a sheet of card with an aperture (4.25 by 5.5 inches) to lay over my finished forest path scene to help me decide where to cut – I simply put a dot in each corner of the window – when I’ve settled on an area and then I cut from dot to dot – using a ruler to keep the lines straight. You can see in the 3rd pic in this set, the section of image that I chose for this card. Then I had fun deciding what versions of my characters to add.
So right now I am full of ideas for more layering stencils – but what’s your experience – do you like layering stencils – do you like stencils at all? how do you find stencilling as a technique?


Joan Bardee
you cut these yourself??? that’s amazing. I adore stenciling. it frees me from having to have art skills!! this set is beautiful. I cannot wait to use it.
admin
Yes, but not by hand, I use a plotter, but it does require heavy supervision!
Sue Sansoucy
Those backgrounds are gorgeous. They remind me of vintage postcards.
admin
Thank you so much Sue!! Ta for popping in!
Dolly LaBelle
Your forest stencil is awesome! My daughter works in Montana and would be a perfect scene!
Putting on my wish list for Birthday.
admin
Och thanks so much Dolly! that’s so kind of you to say!!
Mary Rose Kulczak
Wow, stunning!
admin
Thank you Mary Rose! Ta for popping in!